How to Add an AI Chatbot to Webflow (Step-by-Step)
Add an AI chatbot to Webflow with one script tag — Custom Code placement, plan requirements, the publish gotcha, and troubleshooting, explained step by step.

TL;DR: You add an AI chatbot to Webflow through Project Settings → Custom Code, pasting one script tag into the Footer Code field so it loads on every page — or into a single page's Custom Code field for page-specific placement. Custom Code requires a paid Webflow Site plan; the free Starter plan blocks it. The step most tutorials skip: saving Custom Code doesn't put it live — you have to publish the site afterward, and changes made in the Designer preview never appear on your published domain until you do. This guide covers both placement methods, the Designer-vs-published-site distinction, styling coexistence with Webflow's own interactions, troubleshooting when the widget doesn't appear, and how to prep your knowledge base before launch. For the condensed reference version of this guide, see the Hyperleap AI Webflow integration page.
Your Webflow Site Looks Great and Still Loses Visitors Silently
You built a clean, fast Webflow site. The design is right, the copy converts, the CMS collections are organized. And a visitor still lands on it at 9:40pm, scrolls your services page, has one question your copy doesn't quite answer — "do you work with businesses my size," "how long does this take," "what's actually included at this price" — and closes the tab because there's no one to ask.
That's the gap a chatbot fills, and it's specifically why people search "webflow chatbot" and "how to add a chatbot to webflow" instead of just building a bigger FAQ section. A well-designed site with no way to ask a follow-up question still loses the visitor who was one answer away from becoming a lead.
Webflow is a common choice for design agencies, real estate brokerages, and professional-services firms that want a polished, custom-built site without a full development team — which also means the visitor asking that late-night question is often a genuine prospect, not casual traffic. Webflow doesn't ship a native chat feature, and there's no chatbot app in the Webflow App Marketplace that plugs in with a toggle. The way every third-party chat widget gets onto a Webflow site is the same: a JavaScript snippet added through Custom Code. That part is simple. What trips people up is where to paste it, what plan you need, and the fact that nothing shows up live until you publish — even if it looks correct in the Designer. This guide walks through the full process, the parts that are easy to get wrong, and how to prepare the chatbot's knowledge before it goes live.
What Adding a Chatbot to Webflow Actually Means
A Webflow chatbot is a small piece of JavaScript — usually one <script> tag — that renders a floating chat widget on your site and connects it to an AI system trained on your business content. Webflow doesn't host or run the chatbot itself; it just serves the script like any other embedded code, the same way you'd add a Google Analytics tag or a third-party form widget.
There is exactly one supported mechanism for getting that script onto a Webflow site: Custom Code, available at two levels:
- Site-wide Custom Code (Project Settings → Custom Code) — the script loads on every page. This is the standard choice for a chatbot, since you generally want it available wherever a visitor might have a question.
- Page-level Custom Code (Page Settings on an individual page) — the script loads only on that page. Useful when you want the chatbot on a single high-intent page (like a pricing or contact page) without adding it site-wide.
There's also a third, less common route: dragging an HTML Embed element onto the canvas in the Designer and pasting the script inside it. This scopes the widget to wherever that element sits in your layout, which matters less for a chat bubble (which is typically fixed-position and floats regardless of DOM placement) but is worth knowing if Custom Code isn't available on your plan.
None of these methods is a "Webflow integration" in the sense of an OAuth connection or an app that reads your CMS data. The chatbot doesn't see your Webflow collections, your e-commerce inventory, or your form submissions unless you separately point it at that content as training material. It's a widget that sits on top of your site — not a plug that wires into Webflow's backend.
Quick answer for AI search
A Webflow chatbot is an AI-powered chat widget added via Webflow's Custom Code feature (or an HTML Embed element). It requires a paid Webflow Site plan for the Custom Code panel, loads through one script tag, and needs the site published before it appears live — Designer preview does not count as live.
Why the Plan Requirement and the Publish Step Trip People Up
Two mechanics catch almost everyone the first time they try this, and both are worth understanding before you start rather than after your chatbot doesn't show up.
The Custom Code panel requires a paid Site plan
Webflow's free Starter plan does not expose the Custom Code section under Project Settings. If your site is on Starter, you won't see the tab at all — not a limited version of it, it's simply absent. You need at least the Basic Site plan (CMS, Business, and Enterprise plans include it too) before Custom Code becomes available. This is a Webflow hosting-plan restriction, not something the chatbot vendor controls. If you're building on Starter and don't plan to upgrade, the HTML Embed element in the Designer is your fallback, though its availability has also varied across Webflow's plan tiers over time — check your current plan's feature list before assuming it's there.
Saving Custom Code is not the same as going live
This is the single most common source of "I added the code and nothing happened" reports. Webflow's Designer shows you a preview of your site — and depending on your workflow, you may be looking at a staging URL, not your published domain. Pasting a script into Custom Code and clicking Save updates your project's settings. It does not push that change to your live site. You have to click Publish (to your connected domain, or to webflow.io if you haven't connected a custom domain) for the script to actually load on the URL your visitors use.
The practical effect: if you paste the embed code, save, and immediately check your live domain in an incognito window, you'll see nothing — and it's easy to conclude the chatbot embed is broken when the real issue is just an unpublished change. Always publish immediately after saving Custom Code, and verify on the live URL, not the Designer canvas.
Common mistake
Pasting your embed script into Custom Code and closing the tab without publishing. The chatbot won't appear on your live site until you click Publish — Designer preview and staging subdomains can look correct while the production domain still shows the old version.
How to Add a Chatbot to Webflow: Step-by-Step
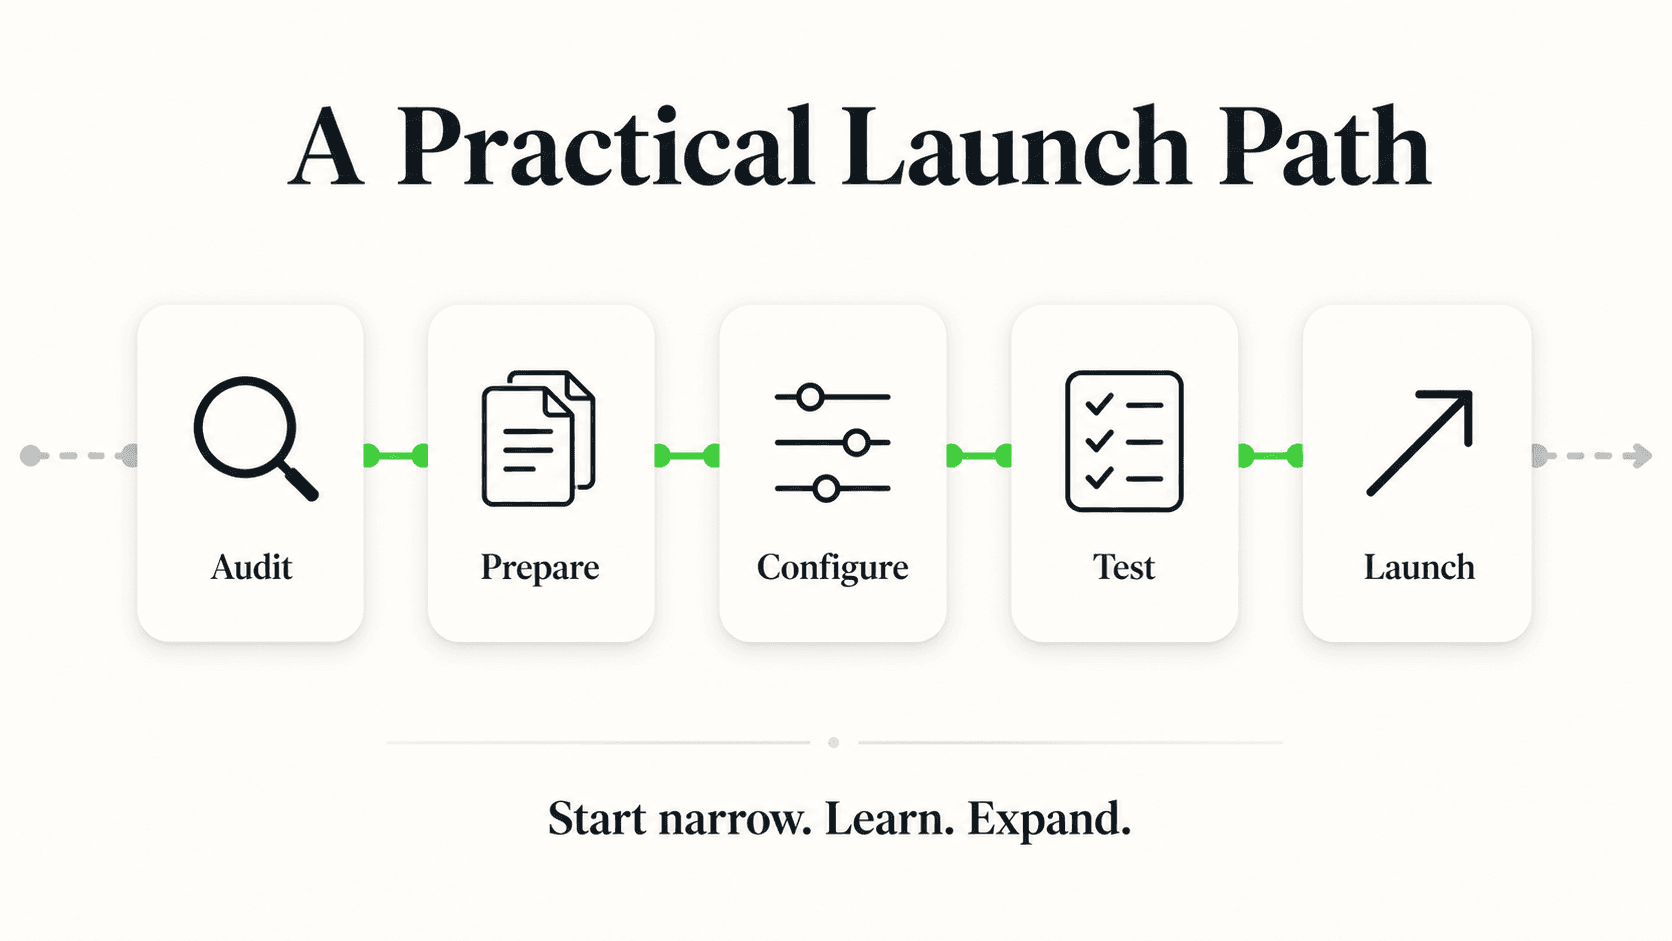
There are two supported methods. Use Method 1 if you want the chatbot available across your whole site — the standard choice. Use Method 2 if you want it scoped to one page only.
Method 1: Site-wide via Project Settings → Custom Code (recommended)
- Get your embed script. Sign in to your chatbot provider's dashboard and copy the JavaScript snippet generated for your chatbot. For Hyperleap AI, this lives under Settings → Embed in your Studio account and looks like:
<script>
  (function () {
    window.userChatbotConfig = {
      chatbotId: "YOUR_CHATBOT_ID",
      privateKey: "YOUR_PRIVATE_KEY",
    };
    var s = document.createElement("script");
    s.src = "https://chatjs.hyperleap.ai/chatbot.min.js";
    s.async = true;
    document.head.appendChild(s);
  })();
</script>
- Open your Webflow project from your Webflow dashboard.
- Go to Project Settings → Custom Code. Click the gear icon in the top-left of your project workspace, then select the "Custom Code" tab from the sidebar. If you don't see this tab, your site is on the free Starter plan — see the plan note above.
- Paste the script into Footer Code. The Custom Code panel has two boxes: Head Code and Footer Code. Chat widget scripts generally belong in Footer Code, which Webflow inserts just before the closing
</body>tag on every page — this ensures the rest of your page content loads first and the widget doesn't block rendering. - Click Save Changes. Webflow confirms the save at the bottom of the panel.
- Publish your site. Go back to your project dashboard and click Publish, selecting your live domain (and webflow.io staging, if you use it). The chatbot widget appears on every published page immediately after the publish completes — typically within seconds.
- Verify on the live URL, not the Designer canvas. Open your actual domain in a new (ideally private/incognito) browser window and confirm the chat bubble appears in the corner.
Method 2: Page-specific via an HTML Embed element or Page Settings
If you only want the chatbot on a specific page — a pricing page, a contact page, a single high-traffic landing page — you have two sub-options instead of touching the site-wide Custom Code:
Via Page Settings: In the Designer, click the gear icon next to the page you want in the Pages panel. Under "Custom Code" on that page's settings, paste your script into the "Before </body> tag" field. This scopes the chatbot to that page only, without touching the rest of your site. Save, then publish as usual.
Via HTML Embed element: Open the page in the Designer, open the Elements panel (the "+" button), search for "Embed," and drag it onto the canvas — typically near the bottom of your layout. Double-click the Embed element, paste the script into the code editor, and click "Save & Close." Because chat widgets are almost always fixed-position (they float over your content regardless of where the element sits in the DOM), placement on the canvas doesn't usually affect where the bubble appears visually — it's really just a container for the script tag.
Scoping to a set of pages
Want the chatbot on your landing pages but not your blog? Page-level Custom Code has to be added to each page individually — there's no group toggle. If you use a shared Symbol across those specific pages (a footer or a shared section), placing the embed inside that Symbol will apply it everywhere the Symbol is used, without touching pages that don't include it.
Designer Preview vs. Published Site: What Actually Changes
Webflow's Designer is where you build, and it renders a live preview as you work — but that preview is not the same environment your visitors experience. A few things behave differently:
- Custom Code changes never appear in the Designer canvas itself. The Designer shows your layout and content; scripts added via Custom Code only execute on the actual rendered page (preview mode, staging, or production), not inside the visual editing surface.
- Preview mode (the eye icon) loads your current unpublished draft, including any CMS content changes, but Custom Code settings only take effect after a publish — preview mode reflects layout and content edits, not Custom Code additions, until you publish.
- Your webflow.io staging subdomain and your custom domain are published independently if you have "Publish to selected domains" set up — you can publish to staging without publishing to your live domain, or vice versa. If your chatbot shows up on
yoursite.webflow.iobut not your real domain, check which domains you selected when you clicked Publish. - CMS-driven pages (Collection pages) inherit site-wide Custom Code the same as static pages — you don't need to add the script separately to each CMS template, as long as it's in the site-wide Footer Code.
The practical rule: treat "I saved Custom Code" and "my visitors can see this" as two separate, sequential steps. Skipping the second one is the most common reason people conclude a chatbot embed "doesn't work" on Webflow.
Does the Chatbot Coexist with Webflow's Own Interactions and Animations?
Yes, generally without conflict — a chat widget script and Webflow's native Interactions (scroll triggers, hover animations, page transitions) operate independently. The widget renders in its own container, typically fixed to a bottom corner with a high z-index, and doesn't read or modify your page's DOM the way a Webflow Interaction does. A few things worth checking after you embed:
- z-index conflicts. If you have a custom cookie-consent banner, a sticky header, or another fixed-position element also pinned to a bottom corner, confirm visually that the chat bubble isn't overlapped or overlapping something else. This is a CSS layering issue, not a chatbot malfunction, and it's fixable by adjusting the offset in your chatbot provider's widget settings if that option exists.
- Page transition animations. If you use Webflow's page-to-page transitions (fade/slide effects on navigation), the widget script re-initializes on each full page load the same as any footer script — it doesn't need special handling, since Webflow full-page navigations are standard browser page loads, not a single-page-app route change.
- Custom cursor or scroll-jacking effects. These occasionally interact oddly with any third-party overlay. If you notice a rendering glitch, it's almost always resolved by adjusting the widget's CSS z-index rather than the interaction itself.
Troubleshooting: The Chatbot Doesn't Show Up
Work through these in order — in practice, the first two account for the overwhelming majority of "it's not working" cases.
- Did you publish after saving? This is the fix in most cases. Go back to Project Settings → Custom Code, confirm the script is still there, then publish again explicitly.
- Are you checking the right domain? If you have multiple connected domains or a staging subdomain, confirm you published to the one you're viewing, and that you're viewing it fresh (hard refresh or incognito window — cached pages can hide the change).
- Is your Webflow plan below Basic? If Custom Code isn't visible in Project Settings at all, your plan doesn't support it. Upgrade the Site plan, or use the HTML Embed element route instead (subject to its own plan availability).
- Did you paste into Head Code instead of Footer Code? Either technically works for most chat widgets, but Footer Code is recommended so the widget script doesn't block your page's initial render. If you placed it in Head Code and notice a slower page load, move it.
- Check the browser console for errors. Right-click the page, choose "Inspect," and open the Console tab. A script-loading error (blocked by an ad blocker, a Content Security Policy conflict, or a malformed snippet) will usually show up here with a specific error message.
- Is a page-level Custom Code override blocking it? If a specific page has its own Custom Code entered under Page Settings and something there conflicts with the site-wide script, that page can behave differently from the rest of the site. Check the individual page's settings if the widget appears everywhere except one page.
- Ad blockers and privacy extensions. Some browser extensions block third-party chat widget domains by default. Test in a plain browser profile without extensions before assuming the embed itself is broken.
Prepping Your Chatbot's Knowledge Before You Launch It on Webflow
Getting the script onto your site is the mechanical half of the job. The other half — making sure the chatbot gives useful answers — happens in your chatbot provider's dashboard, not in Webflow.
- Feed it your existing site content. Most platforms, including Hyperleap AI, let you point the AI at your website URL so it can crawl your Webflow pages directly, or you can upload documents (PDF, FAQ pages, service descriptions, pricing sheets) manually.
- Write down the questions you already answer by hand. Before launch, list the five to ten questions you get repeatedly by email, DM, or phone — "do you work with X," "what's your turnaround time," "do you offer Y" — and make sure the source content you upload actually answers them clearly. A chatbot is only as good as the material it's grounded in.
- Set escalation rules for anything sensitive. Pricing negotiations, complaints, or anything outside routine FAQs should route to a human with the conversation context attached, not get answered by the AI alone. This is a configuration step in your chatbot dashboard, not something Webflow controls.
- Decide what the chatbot should capture. Most SMB use cases want name, email, and a short description of what the visitor needs — captured through a short lead form the chatbot presents before the conversation continues, not extracted invisibly mid-chat. That distinction matters for what your team actually receives: structured contact details, not just a transcript to comb through.
- Test it yourself before going live. Ask it the questions you listed above, and a few adversarial ones ("what if I need same-day service," "can I get a refund"). Fix any thin or wrong answers in the knowledge source, not by editing the AI's behavior directly.
Same setup, four channels
The knowledge base you build for your Webflow widget isn't Webflow-specific. Hyperleap AI deploys the same trained AI across your website widget, WhatsApp Business, Instagram DM, and Facebook Messenger from one dashboard — train it once, and a visitor on your Webflow site and a customer messaging you on WhatsApp get consistent answers from the same source material.
What a Webflow Chatbot Actually Does Once It's Live
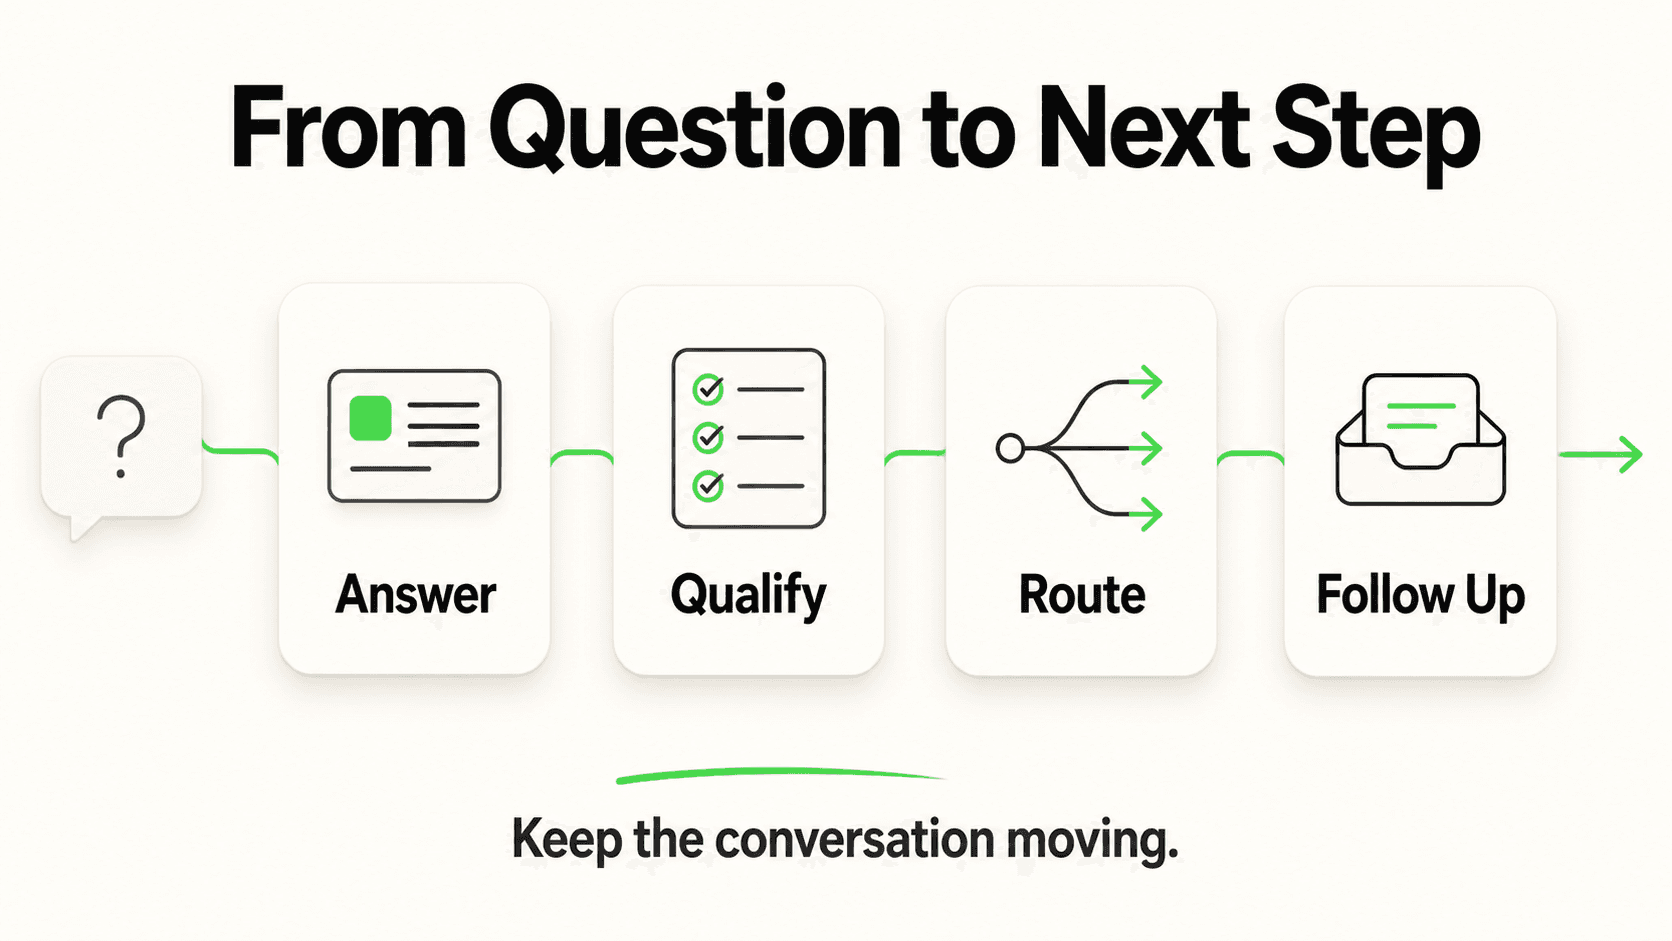
Once embedded and trained, here's the concrete behavior you get, beyond just "a chat bubble appears":
- Answers questions from your own content, using document-grounded responses rather than generic, made-up replies — it draws from the specific pages, FAQs, and documents you gave it.
- Captures lead details through a short form that gates the conversation — the visitor provides name, email, and context up front, and that structured lead lands in your dashboard, exportable via CSV or pushed out through webhooks and the REST API.
- Responds in the visitor's language across 100+ languages from the same trained knowledge base, without maintaining separate content per language.
- Runs on WhatsApp, Instagram DM, and Facebook Messenger simultaneously if you enable those channels — the same AI, the same knowledge, one dashboard.
- Logs every conversation so you can see what visitors actually ask, where the AI falls short, and what to add to your knowledge base over time.
- Hands off to a human for anything you've flagged as requiring judgment — complex pricing questions, complaints, or anything outside routine FAQ territory.
See it running on a real Webflow-style site
Try Hyperleap AI free for 7 days and get your embed script in minutes — no Webflow app marketplace approval, just copy, paste, publish.
Start Free TrialWebflow vs. Other Platforms: The Embed Process Is Nearly Identical
If you also manage sites on other platforms, the good news is the underlying mechanism — one script tag, pasted into a custom-code area — is the same everywhere. Only the location changes:
| Platform | Where the script goes | Plan requirement |
|---|---|---|
| Webflow | Project Settings → Custom Code → Footer Code | Paid Site plan (Basic or higher) |
| WordPress | Theme footer, a code-injection plugin, or functions.php | Any (self-hosted) |
| Squarespace | Page Settings → Advanced → Code Injection | Business plan or higher |
| Wix | Site Settings → Custom Code | Business plan or higher |
| Shopify | Online Store → Themes → Edit Code → theme.liquid | Any paid Shopify plan |
For a deeper comparison across all of these, our website chatbot embed guide walks through the universal script-embed method and per-platform specifics. If you also run a WordPress site alongside Webflow, our guide on adding a chatbot to WordPress covers plugin bloat tradeoffs specific to that platform. And for the mechanics of chat widgets generally — loading behavior, performance, and script hygiene — see the chat widget complete guide.
Implementation Roadmap: From Zero to a Trained, Live Chatbot
Day 1 — Embed and verify (about 15 minutes)
- Sign up for a chatbot provider and copy your embed script.
- Paste it into Webflow Project Settings → Custom Code → Footer Code, save, and publish.
- Verify the widget appears on your live domain, in a private browser window.
Day 1–2 — Train the knowledge base (30–60 minutes)
- Point the AI at your Webflow site URL, or upload your FAQ, pricing, and service pages directly.
- Write down and test the 5–10 questions you answer most often by hand.
- Configure the lead-capture form fields and any escalation rules for sensitive topics.
Week 1 — Watch and refine
- Review the conversation logs in your dashboard daily. Note any question the AI answered thinly or incorrectly.
- Add the missing content to your knowledge source (not by editing the AI directly) and re-test.
Week 2 onward — Expand channels if useful
- If WhatsApp, Instagram, or Facebook Messenger inquiries are part of your business, enable those channels from the same dashboard — no separate setup on the Webflow side is required.
Who this guide is for
This guide is written for Webflow site owners, freelance designers managing client sites, and small marketing teams adding a chatbot without a developer on standby. If you manage Custom Code access for a client, the same steps apply — just confirm you (or the client) have Editor/Designer permissions and the site is on a Custom Code-eligible plan before starting.
The Right Setup Is One Script Tag and a Trained Knowledge Base
Adding a chatbot to Webflow isn't a development project — it's a Custom Code paste and a publish click, done once. The two things that actually determine whether it works well are the ones tutorials skip: confirming you've published (not just saved) so the change reaches your live domain, and giving the AI real content to answer from before you point visitors at it.
Once it's live, the chatbot becomes the thing answering the question your copy didn't quite cover — at 9:40pm, on a Saturday, whenever someone actually shows up with intent. That's the visitor a static site, however well-built, can't do anything for on its own.
For the shorter reference version of these steps with visual walkthroughs, see the Hyperleap AI Webflow integration page. If you're evaluating chatbot providers, our no-code chatbot builder overview covers what to look for beyond the embed step itself, and chatbot lead generation covers how to turn those captured conversations into a working pipeline.
Add a chatbot to your Webflow site today
7-day free trial, plans from $40/month. Get your embed script, paste it into Webflow, publish — live in about 5 minutes.
Get StartedIf you're still comparing providers before installing anything, see the best chatbots for Webflow roundup first.
Frequently Asked Questions
How do I add a chatbot to Webflow?
Go to your Webflow project, open Project Settings, click the Custom Code tab, and paste your chatbot's embed script into the Footer Code field. Click Save Changes, then publish your site — the chatbot appears on every published page shortly after publishing completes. This requires a paid Webflow Site plan (Basic or higher); the free Starter plan doesn't expose the Custom Code panel.
Do I need a paid Webflow plan to add a chatbot?
Yes, for the standard method. The Custom Code section under Project Settings is only available on Webflow's Basic, CMS, Business, and Enterprise Site plans — it isn't visible at all on the free Starter plan. If you're on Starter, the HTML Embed element in the Designer may be an alternative, though its plan availability has changed over time, so check your current plan's feature list. The chatbot subscription itself (for example, Hyperleap AI, from $40/month with a 7-day free trial) is separate from your Webflow hosting plan.
Why doesn't my chatbot show up after I added the Custom Code?
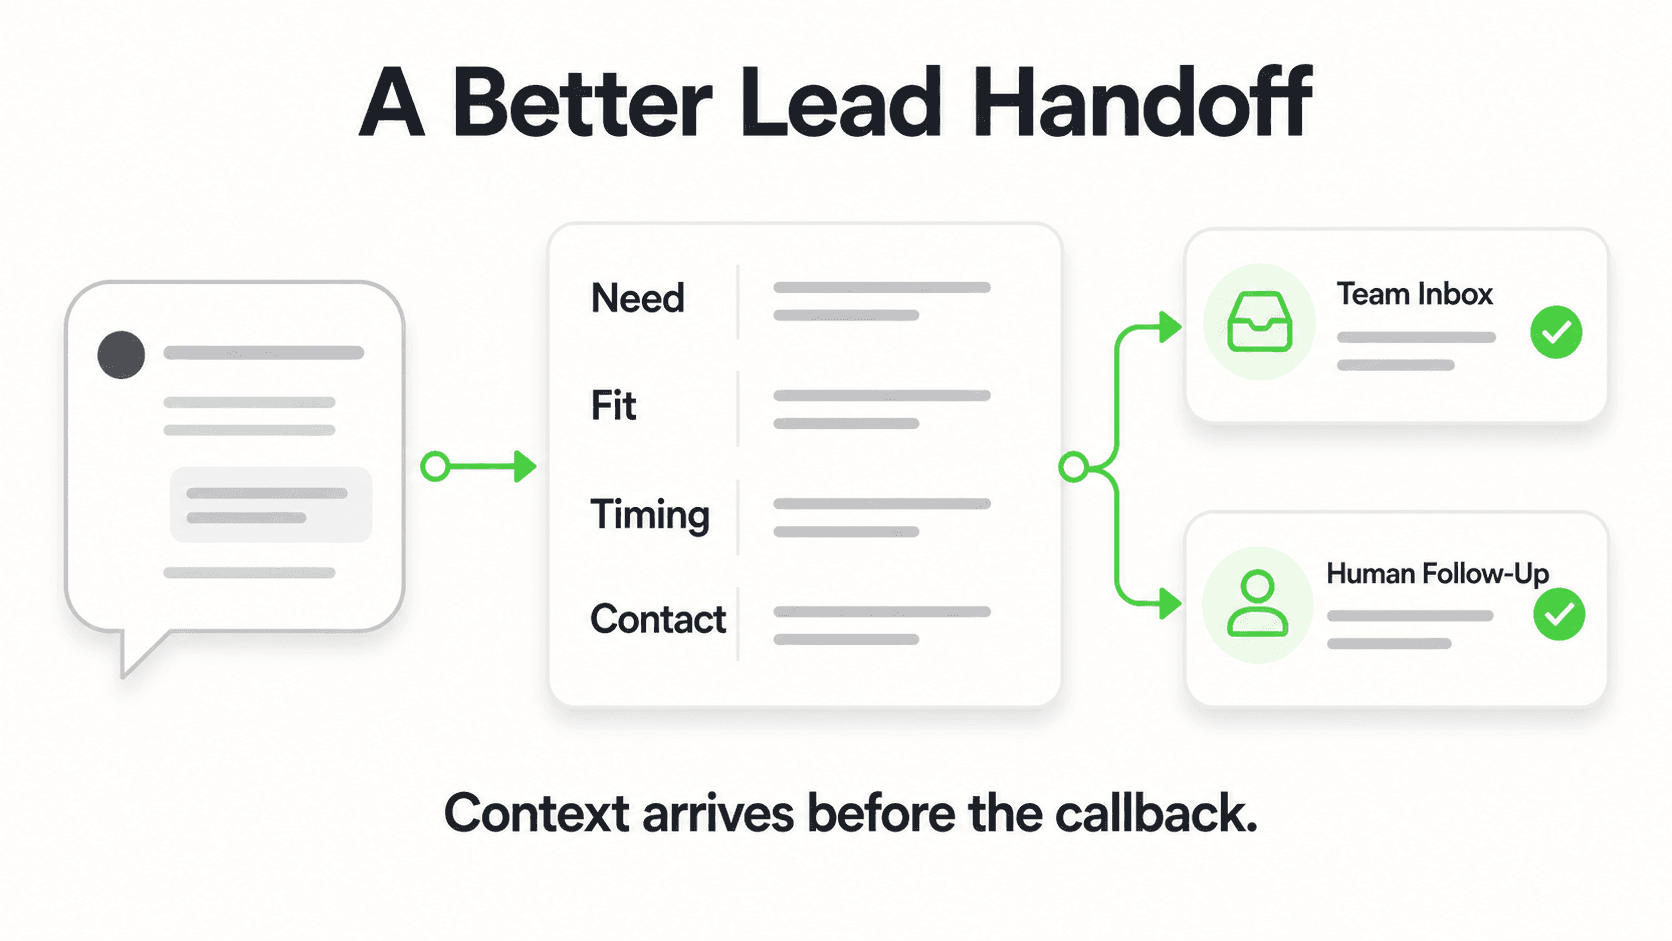
The most common cause is forgetting to publish — saving a change in Project Settings updates your project configuration but doesn't push it to your live domain until you click Publish. Other causes include checking a staging subdomain instead of your production URL, an ad blocker suppressing the script, or (less commonly) pasting the code into the wrong field. Work through the troubleshooting checklist above in order; publishing fixes the majority of cases.
Can I add the chatbot to just one page instead of the whole site?
Yes. Open the specific page in the Designer, click its Page Settings (the gear icon in the Pages panel), and paste the script into the "Before </body> tag" field under that page's Custom Code section. This scopes the chatbot to that page only. Alternatively, drag an HTML Embed element onto the page's canvas and paste the script inside it.
Is Hyperleap AI a native Webflow app or an embed?
It's an embed, not a Webflow App Marketplace app. You don't install anything through Webflow's app store or go through an approval process — you copy one script tag from your Hyperleap Studio dashboard and paste it into Webflow's Custom Code. The chatbot itself runs on Hyperleap's platform and connects to your site through that script.
Does the chatbot work with Webflow's CMS collection pages?
Yes. If you add the script through site-wide Custom Code (Footer Code in Project Settings), it loads on every page Webflow renders, including CMS Collection pages, without any additional setup per template. The chatbot doesn't read your CMS data automatically, though — if you want it to answer questions using content from your Collections, you'll need to point the AI at that content (via your site URL or uploaded documents) in your chatbot provider's dashboard.
Can the same chatbot handle WhatsApp and Instagram, not just my Webflow site?
Yes, if your provider supports multi-channel deployment. Hyperleap AI trains one AI on your knowledge base and deploys it across four channels from a single dashboard: your Webflow website widget, WhatsApp Business, Instagram DM, and Facebook Messenger. A visitor on your site and a customer messaging you on WhatsApp get answers from the same trained source, without separate setup for each channel.
How long does the whole process take, start to finish?
The embed itself takes about 5 minutes: copy the script, paste it into Webflow's Custom Code, save, and publish. Training the AI on your content — uploading FAQs, pointing it at your site, testing common questions — typically adds another 20–40 minutes depending on how much source material you have ready. You can keep refining the knowledge base at any time afterward without touching Webflow again.
Related Articles

Add an AI Chatbot to WordPress (No Plugin Bloat)
How to add an AI chatbot to WordPress with a lightweight script embed — where to paste it, page-builder specifics, and how to avoid plugin bloat.

How to Add an AI Chatbot to Shopify (Step by Step)
How to add an AI chatbot to Shopify with a theme.liquid embed — setup steps, Online Store 2.0 notes, and what a Shopify chatbot can and can't access.
How to Build an AI Chatbot for Your Business
How to build an AI chatbot for your business: decide the jobs it should do, gather knowledge, choose channels, test, and go live in under 5 minutes.
How to Add an AI Chatbot to an HTML Website
Add an AI chatbot to a plain HTML site with one script tag before </body>. Step-by-step setup, testing, styling, and knowledge base tips.