How to Add an AI Chatbot to an HTML Website
Add an AI chatbot to a plain HTML site with one script tag before </body>. Step-by-step setup, testing, styling, and knowledge base tips.
TL;DR:
- Adding an AI chatbot to a plain HTML site means pasting one
<script>tag directly into your HTML, right before the closing</body>tag — on every page you want the widget to appear. - There's no plugin ecosystem or "app store" for static HTML the way WordPress or Wix have one. The embed script itself is the entire integration, which makes HTML sites in some ways the simplest platform to add a chatbot to — and the easiest to get wrong if you paste it in the wrong spot or forget a page.
- The chatbot's answers come from what you feed it: crawl your live URLs, upload PDFs (pricing sheets, service lists, policies), and it answers from that content instead of guessing.
- A visitor's contact details are collected through a lead form before the conversation starts, not scraped from the chat transcript afterward.
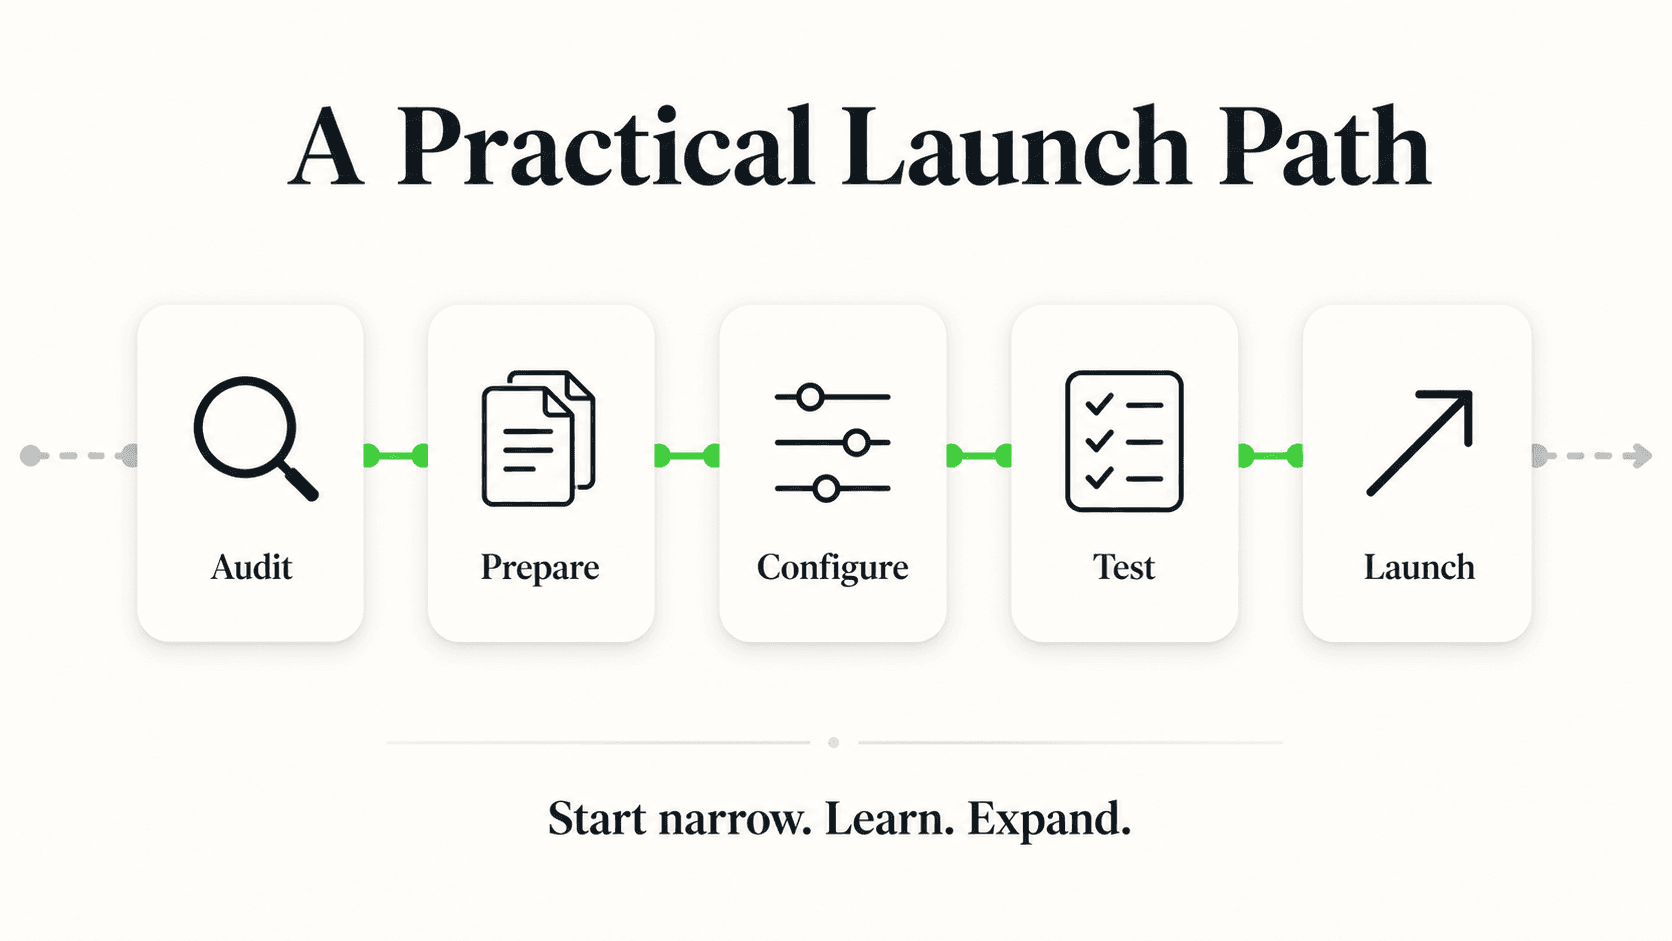
- You can be live in under 5 minutes with the quick-start path — paste the URL, let Studio import your site and generate a starting prompt, then add the one script tag. Attaching PDFs, writing guardrails, and testing conversation flows is tuning you do afterward, not a blocker to going live.
If your site is plain HTML — no CMS, no theme system, maybe a handful of .html files sitting in a folder on a server somewhere — you've probably noticed that most "how to add a chatbot" guides assume you're running WordPress, Shopify, or Wix. Searches for "html chatbot," "chatbot html," and "html bot" mostly return generic JavaScript widget tutorials or framework-specific plugin guides that don't apply to you at all.
The good news: a static HTML site is actually one of the easiest platforms to add an AI chatbot to. There's no plugin marketplace to navigate, no theme conflict to debug, no page builder swallowing your custom code into a sandboxed iframe. You're editing the HTML directly, so you have full control over exactly where the script goes. The entire integration is one <script> tag.
This guide walks through that process end to end: what the embed script actually is, exactly where it goes in your markup, how to roll it out across a multi-page static site, how to test it properly, the styling and position options you control, what to feed the chatbot before it goes live, and how the lead-qualification step works. If you're comparing platforms before you commit to this approach, our chatbot for HTML websites page covers the broader picture; this post is the hands-on walkthrough once you've decided to move forward.
What the Embed Script Actually Is
An AI chatbot embed script is a small piece of JavaScript that, when loaded on a page, renders a chat widget (usually a bubble in a corner) and connects it to your chatbot's configuration in the background — the persona, the knowledge base, the lead form, and the channels it's connected to all live on the provider's side, not in your HTML.
Concretely, it looks something like this (with a placeholder chatbot ID — your real script comes from your Hyperleap Studio dashboard):
<script>
  (function (w, d, s, id) {
    w.HyperleapChat = w.HyperleapChat || { chatbotId: id };
    var js = d.createElement(s);
    js.async = true;
    js.src = "https://cdn.hyperleapai.com/widget/loader.js";
    d.body.appendChild(js);
  })(window, document, "script", "YOUR_CHATBOT_ID");
</script>
Everything the script needs — which chatbot to load, how it should look, what it should say first — is fetched from your Hyperleap account once the script runs. You don't hand-code any of the conversation logic, the styling, or the lead form into your HTML. That all happens inside Studio. The script's only job is to tell the browser "load the widget for this chatbot, on this page."
This matters because it means updating your chatbot's greeting message, color, or knowledge base later requires zero changes to your HTML files. You paste the script once; everything else is configured remotely.
Where to Paste It: Before </body>, on Every Page
The chatbot script belongs immediately before the closing </body> tag, on every HTML page you want the widget to appear on. That placement is deliberate, not arbitrary.
Why the end of </body> and not <head>
Browsers parse HTML top to bottom. A script placed in <head> runs before the page's visible content has loaded, which can delay the point where your visitor sees a fully rendered page — especially on a slower connection. A script placed right before </body> runs after your page's actual content (text, images, layout) has already loaded, so the chatbot loads in without competing for load priority against the things visitors came to see.
What this looks like in your markup
<!DOCTYPE html>
<html lang="en">
<head>
  <meta charset="UTF-8">
  <title>Your Business Name</title>
  <link rel="stylesheet" href="styles.css">
</head>
<body>

  <!-- your existing page content -->
  <header>...</header>
  <main>...</main>
  <footer>...</footer>

  <!-- chatbot embed goes here, last thing before </body> -->
  <script>
    (function (w, d, s, id) {
      w.HyperleapChat = w.HyperleapChat || { chatbotId: id };
      var js = d.createElement(s);
      js.async = true;
      js.src = "https://cdn.hyperleapai.com/widget/loader.js";
      d.body.appendChild(js);
    })(window, document, "script", "YOUR_CHATBOT_ID");
  </script>

</body>
</html>
The multi-page reality of static HTML
This is the part that trips people up on a static site specifically: unlike WordPress or Wix, where a single site-wide setting adds a script to every page automatically, a plain HTML site has no such global injection point unless you've built one yourself. If your site is five separate .html files with no shared layout, you need to paste the script into each one individually.
A few ways to handle this depending on how your site is built:
- A handful of pages (under ~10): Paste the script into each file manually. Tedious but fast — a few minutes of copy-paste.
- Server-side includes (SSI) or a templating layer: If your HTML is generated from a shared footer include (
<!--#include file="footer.html" -->or similar), add the script once to that shared footer file and it propagates everywhere automatically. - A static site generator (Jekyll, Hugo, Eleventy, etc.): Add the script to your shared layout/footer template (
_layouts/default.html,layouts/_default/baseof.html, or equivalent), not to individual content pages. One edit, every generated page gets it. - A build step or bundler: If your deployment pipeline already injects shared partials (a Gulp/Webpack setup, for example), treat the chatbot script the same way you'd treat a shared analytics snippet — add it to whatever partial already runs on every page.
If your site genuinely has no shared template mechanism at all and you're maintaining dozens of standalone HTML files by hand, that's worth knowing regardless of the chatbot — a shared footer include (even a simple SSI directive) will save you time on every future site-wide change, not just this one.
Tag manager alternative
If your HTML site already loads Google Tag Manager for analytics, you can add the chatbot script as a Custom HTML tag set to fire on all pages instead of editing every file directly. The result is the same script loading before </body> — just delivered through GTM instead of hand-edited markup.
Testing the Widget After You Paste It
Confirm the chatbot actually works before you consider the embed finished — a script that's technically present but silently broken is worse than no chatbot at all, since visitors will click a bubble that never responds.
Run through this sequence:
- Open your live site in an incognito window, not a cached tab. Browser caching is the single most common reason people think an embed "didn't work" when it actually did — the page you're looking at is just an old cached version.
- Disable ad blockers and privacy extensions for the test. Some block third-party widget scripts by default, which looks identical to a broken embed.
- Confirm the widget bubble appears, typically in the bottom-right corner, within a couple of seconds of the page loading.
- Send a real test message — something your knowledge base should be able to answer, like "What are your hours?" or "Do you offer X?" — and confirm you get a grounded, correct response, not a generic non-answer.
- Complete the lead form the way a real visitor would, and confirm the submission lands in your Hyperleap Studio dashboard.
- Check every page you edited, not just the homepage — it's easy to miss a page in a multi-file edit, especially on a site without a shared template.
- Check on an actual mobile device. Custom CSS on older or heavily customized static sites can sometimes hide or misposition fixed-position elements at small screen widths.
If the widget doesn't appear at all, the most common causes are: the script was pasted inside a comment or a broken tag by accident, it was placed inside <head> with a typo that stops the whole block from executing, or you're viewing a cached page. Viewing your browser's developer console (right-click → Inspect → Console) will usually surface a script error immediately if one exists.
Styling and Position Options
The widget's appearance — position, color, greeting message, and bot name — is configured inside Hyperleap Studio, not in your HTML. This is one of the real advantages of a static site: because you're not fighting a CMS theme's CSS or a page builder's z-index stacking, whatever you set in Studio tends to render exactly as configured, with far fewer conflicts than on template-heavy platforms.
Inside Studio you can typically control:
- Position: bottom-right or bottom-left corner of the viewport
- Accent color: matched to your brand
- Greeting message and bot name: the first thing a visitor sees when the widget opens
- Launch behavior: whether the widget opens automatically after a delay, or waits for the visitor to click
If your site has an unusual fixed-position element in the same corner — a scroll-to-top button, a cookie-consent banner, a sticky order bar — check for visual overlap during testing and adjust either the chatbot's position setting or your existing element's CSS z-index so neither one gets hidden behind the other.
What to Feed the Chatbot Before Launch
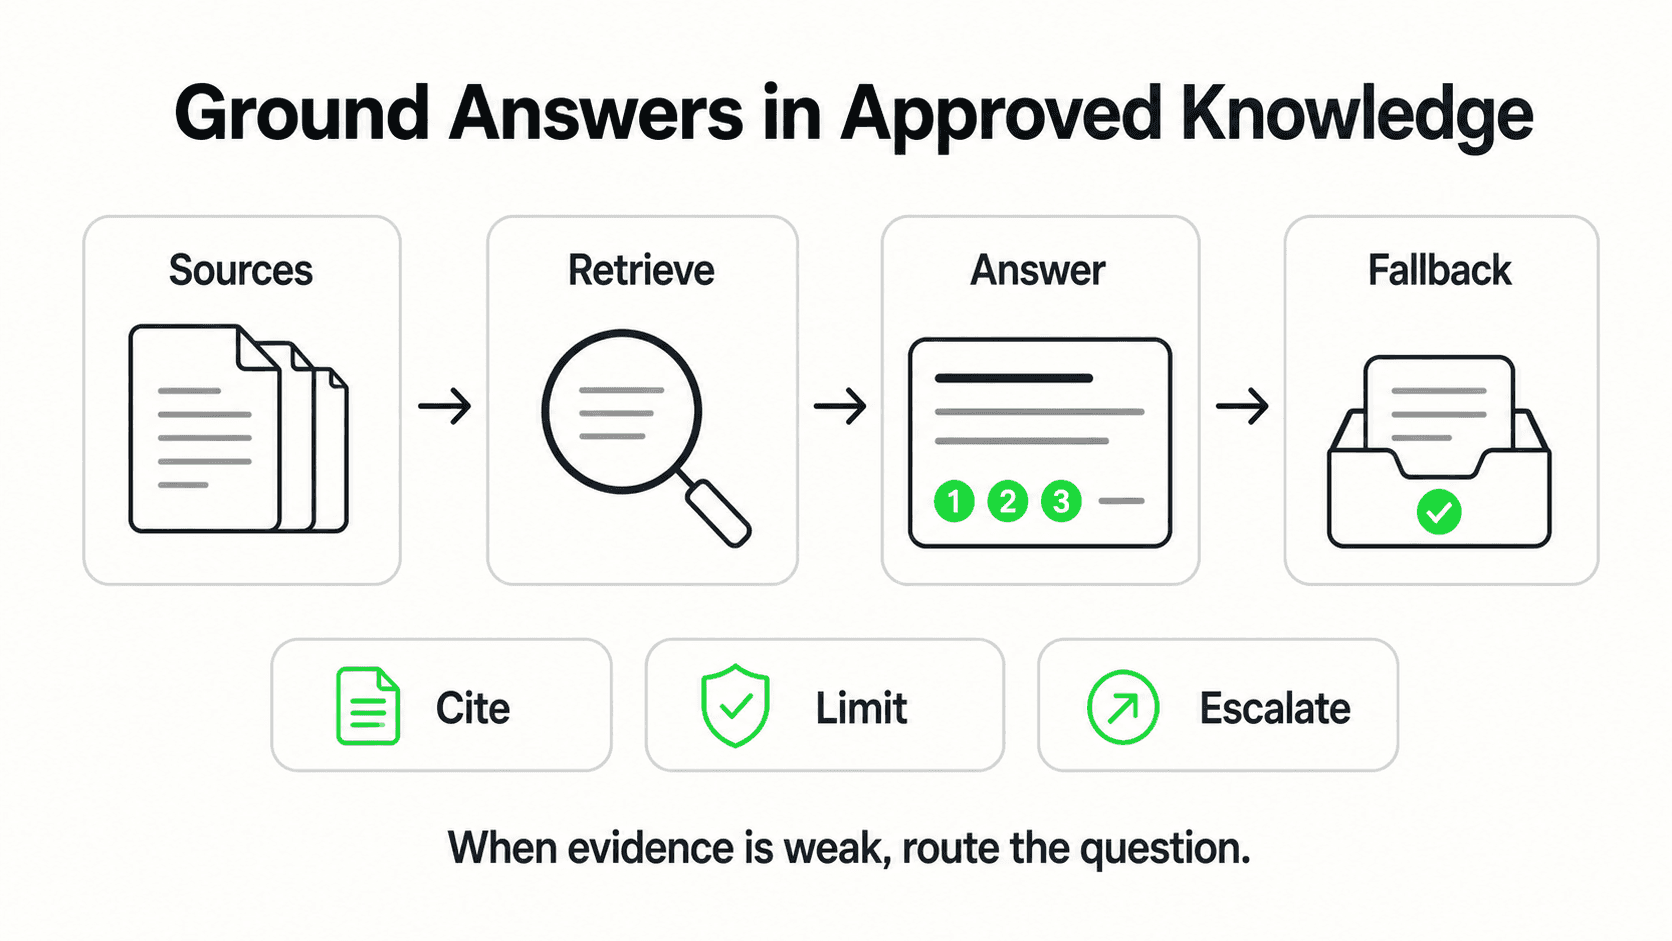
An AI chatbot on your HTML site can only answer questions from the content you give it — pasting the script is the mechanical part; what determines whether visitors get useful answers is what you load into the knowledge base beforehand.
Two ways to do this in Hyperleap Studio:
- URL crawl: Point Studio at your live site and it reads your pages directly — your services, your FAQ, your pricing, your about page — and builds a starting knowledge base automatically. This is the fastest path and the one behind the "live in under 5 minutes" setup: paste your URL, Studio imports your content, detects your industry, and generates a starting prompt, leaving one remaining step (the script tag) between you and a working chatbot.
- Document upload: PDFs, Word docs, and other files — a pricing sheet, a service menu, a policy document, a spec sheet — that aren't necessarily published as web pages but that your team answers questions from regularly.
Once live, a few categories are worth adding deliberately rather than relying on the crawl to catch:
- Pricing and service details exactly as you quote them, so chatbot answers match what your team says on the phone
- Shipping, return, or cancellation policies, if applicable — these generate a disproportionate share of chat volume
- Booking process details — if you use Calendly or Cal.com, connect it so the chatbot can offer open times and book in the conversation (in-chat booking needs Calendly Standard or higher); with any other scheduling tool, it shares your booking link
- A short "what we don't do" list, so the chatbot says so plainly instead of guessing at an answer it wasn't given
Hyperleap AI generates document-grounded responses from what you upload, designed to minimize hallucinations rather than answer from general internet knowledge — a deliberate tradeoff. It won't invent a return policy you never gave it, but it also won't know anything you haven't uploaded. Our guide on AI chatbot knowledge base best practices goes deeper on structuring this well.
See it answer from your own content
Point Hyperleap at your HTML site's URL and watch it build a working knowledge base automatically — before you touch a line of code.
Start Your Free TrialQualification and the Lead Form
Every conversation on your website widget starts with a short lead form — name, phone, and email — collected before the chat itself begins, not extracted from the transcript afterward. That ordering matters: a visitor who abandons the conversation after one message still leaves you a contactable lead, instead of an anonymous exchange with no way to follow up.
Once contact details are captured, the AI asks qualifying questions relevant to your business — what service they're interested in, their timeline, their budget range, whatever you've configured — before handing off anything complex to your team. Simple, repetitive questions ("what are your hours," "do you serve my area," "how much does X cost") get answered directly. Anything outside what the chatbot knows gets routed to a human with the full conversation attached, rather than the AI guessing.
If lead quality matters more than lead volume for your business — a home-services company, a real-estate site, a high-ticket consulting practice — it's worth reviewing OTP-verified lead capture before launch. It's a paid add-on on Hyperleap's Pro and Max plans that confirms a visitor's phone number via one-time passcode before the lead lands in your dashboard, cutting down on the fake numbers and typos that slip through a standard form.
Live in Under 5 Minutes, Then Tune
The quick-start path for an HTML site is genuinely fast: paste your site's URL into Hyperleap Studio, let it crawl your content and generate a starting prompt, then add the one script tag before </body> on the pages you want it live on. That's the setup — the "live in under 5 minutes" claim describes exactly this path, not a stripped-down version of the product.
Everything after that point is tuning, not setup standing between you and going live:
- Attaching additional PDFs (pricing sheets, policy documents) the crawl might not have captured
- Writing explicit guardrails — topics the chatbot should decline and hand off instead of attempting
- Testing edge-case questions and correcting answers that come back wrong or incomplete
- Adjusting the greeting message, widget color, and position to match your brand more precisely
- Reviewing the first week of real conversations in your Studio dashboard and refining the knowledge base based on what visitors actually ask
Treat the first version as a working baseline, not a finished product. Most of the meaningful improvement in chatbot answer quality comes from reading real conversations after launch and patching the gaps you find — not from getting every setting perfect before you go live.
Multi-Channel: Beyond Your Website
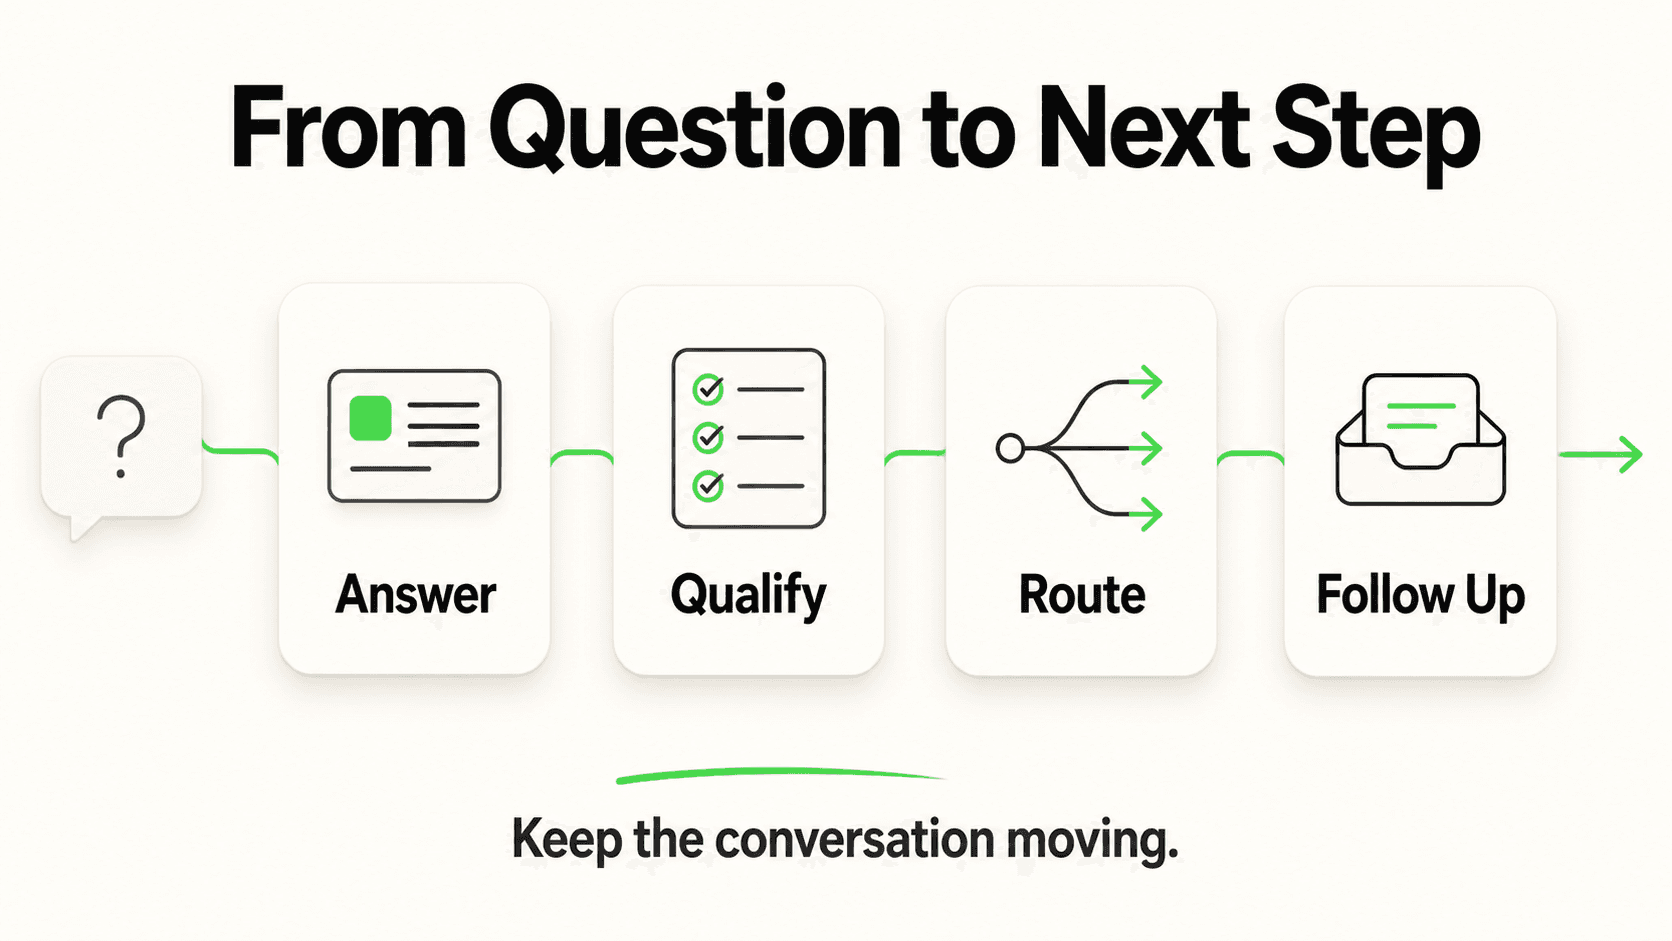
The same chatbot configuration extends to WhatsApp Business, Instagram DM, and Facebook Messenger from the same Hyperleap Studio dashboard, without a separate setup for each. One knowledge base, one set of leads landing in one place, regardless of which channel a customer messaged you on. If a portion of your inquiries already arrive as Instagram DMs or WhatsApp messages rather than through your website form, this is worth setting up alongside the HTML embed rather than as a separate project later — our guide on multi-channel AI chatbot strategy covers how to think about which channels matter most for your business.
Comparing Your Options: HTML vs. a CMS Platform
If you're maintaining a static HTML site out of necessity rather than by choice — inherited from a previous developer, or built years ago before you needed a CMS — it's worth knowing that the chatbot embed process barely differs across platforms. The underlying mechanism (one script, loaded before the closing body tag) is the same whether you're on plain HTML, WordPress, Webflow, or Squarespace. What differs is how that script gets there:
| Platform | How the script gets added | Site-wide by default? |
|---|---|---|
| Plain HTML | Paste directly into each file's <body>, or into a shared template/include | Only if you have a shared layout |
| WordPress | Official Hyperleap AI WordPress plugin — paste your Chatbot ID and Embed Key | Yes, once configured |
| Webflow | Custom Code panel in Site Settings, or an embed element on specific pages | Yes, via site-wide custom code |
| Squarespace | Website Tools → Code Injection → Footer field | Yes, on Business plan and above |
If you're managing chatbot deployment across more than one of these platforms — say, an HTML marketing site plus a WordPress blog — see our dedicated walkthroughs for adding a chatbot to WordPress and adding a chatbot to Squarespace, or the broader website chatbot embed guide that covers every platform in one place. We also maintain platform-specific overview pages for WordPress and Webflow if you're comparing setup requirements before committing to a rebuild. For Webflow specifically, we've also published a full comparison of the best chatbots for Webflow if you're evaluating providers rather than just the mechanics.
No plugin ecosystem, and that's fine
Static HTML doesn't have an "app store" the way WordPress or Wix does — there's no marketplace listing to browse. That's not a limitation for chatbot embedding specifically; the script tag is the entire integration on every platform. It just means you won't find a one-click installer, and you'll be editing markup directly instead of clicking "Activate" in a plugin dashboard.
Troubleshooting Common HTML Embed Issues
| Symptom | Likely cause | Fix |
|---|---|---|
| Widget doesn't appear on any page | Script pasted with a syntax error, or inside an HTML comment by accident | View source on the live page and confirm the <script> tag renders exactly as copied |
| Widget appears on some pages but not others | Script only added to some .html files in a multi-page site with no shared template | Add the script to every page individually, or move to a shared include/template if your build supports one |
| Widget shows up but never loads a response | Chatbot isn't published in Studio, or has an empty knowledge base | Confirm the chatbot's status is "Published" and has at least one knowledge source |
| Widget renders twice, or two chat bubbles appear | Script pasted in more than one location on the same page | Search the page source for the chatbot ID and remove the duplicate |
| Widget works locally but not on the live domain | Testing against a local file (file://) instead of the deployed site, or a caching layer (CDN, reverse proxy) serving a stale version | Test against the actual live URL; purge your CDN cache if you use one |
| Nothing happens when the bubble is clicked | Ad blocker or privacy extension blocking the widget script | Test in an incognito window with no extensions |
Frequently Asked Questions
Do I need a developer to add an AI chatbot to an HTML site?
No. Adding the chatbot is copying one script tag and pasting it before the closing </body> tag in your HTML — no build tools, frameworks, or programming knowledge required. If your site has dozens of pages with no shared template, a developer can speed up rolling the script out everywhere at once, but it isn't required to get the chatbot working.
Where exactly should the script go if my site has a <head> and multiple <body> sections?
A valid HTML document has exactly one <body> tag per page, so "multiple body sections" usually means separate <div> sections within one body — the script still goes once, right before the single closing </body> tag, regardless of how many sections your content is organized into.
Can I add the chatbot to only some pages of my HTML site, not all of them?
Yes. Since you're pasting the script directly into individual files, you have full control over exactly which pages include it — add it only to your contact page, your pricing page, or any subset you choose, simply by not including the script tag on the pages you want to exclude.
Will the chatbot slow down my HTML site's load time?
The script loads asynchronously (note the async attribute in the embed code) and is placed at the end of the page, after your visible content — both choices are made specifically to avoid delaying your page's initial render. Test your before-and-after load time with your browser's network tab if you want to confirm this on your specific site.
What if my HTML site is served through a static site generator like Jekyll or Hugo?
Add the script to your shared layout or footer template file rather than to individual content pages — that's the file every generated page inherits from, so one edit covers your entire site. Look for a file like _layouts/default.html (Jekyll) or layouts/_default/baseof.html (Hugo).
Does the chatbot work if my site doesn't have a booking system or online store?
Yes — the chatbot handles conversation, qualification, and lead capture regardless of whether your site sells anything or takes bookings. If you do use Calendly or Cal.com, the chatbot can read your live availability and book the appointment in the conversation; with other scheduling tools it shares your booking link. Either way, it doesn't require e-commerce or scheduling software to function as a chat and lead-capture tool.
How is this different from a free chat widget I could copy from a JavaScript library?
A generic open-source chat widget gives you the visual bubble and message UI, but no AI behind it — you'd still need to build or connect a language model, a knowledge base, lead capture, and channel support yourself. Hyperleap's script embeds a fully configured AI agent: document-grounded answers from your content, a lead form, qualification logic, and the same conversation continuing on WhatsApp, Instagram DM, or Facebook Messenger if you enable those channels — all managed from one dashboard instead of custom code you'd have to maintain.
Your HTML Site Doesn't Need a CMS to Answer Visitors 24/7
The absence of a plugin ecosystem on a static HTML site turns out to be less of a limitation than it first appears — the entire chatbot integration is one script tag, and once it's placed correctly, everything else (the knowledge base, the styling, the lead form, the conversation logic) lives in your Hyperleap Studio dashboard, not in code you have to maintain.
Every visitor who lands on your site outside business hours with a question gets a real, grounded answer instead of a closed tab, and every one of those conversations becomes a captured, contactable lead instead of traffic that quietly left. If you're weighing this against building the "how to build an AI chatbot" project from a different angle — deciding what the chatbot should actually do before you touch any embed code — our guide on how to build an AI chatbot for your business walks through that planning step first. Pricing starts at $40/month on the Plus plan with a 7-day free trial on every plan (credit card required, no free plan) — see the pricing page for the full breakdown.
Add your chatbot to your HTML site today
Copy one script tag, paste it before the closing body tag, and your static site is answering visitors within minutes.
Start Your Free TrialIndustry Solutions
See how AI chatbots work for these industries:
Related Articles
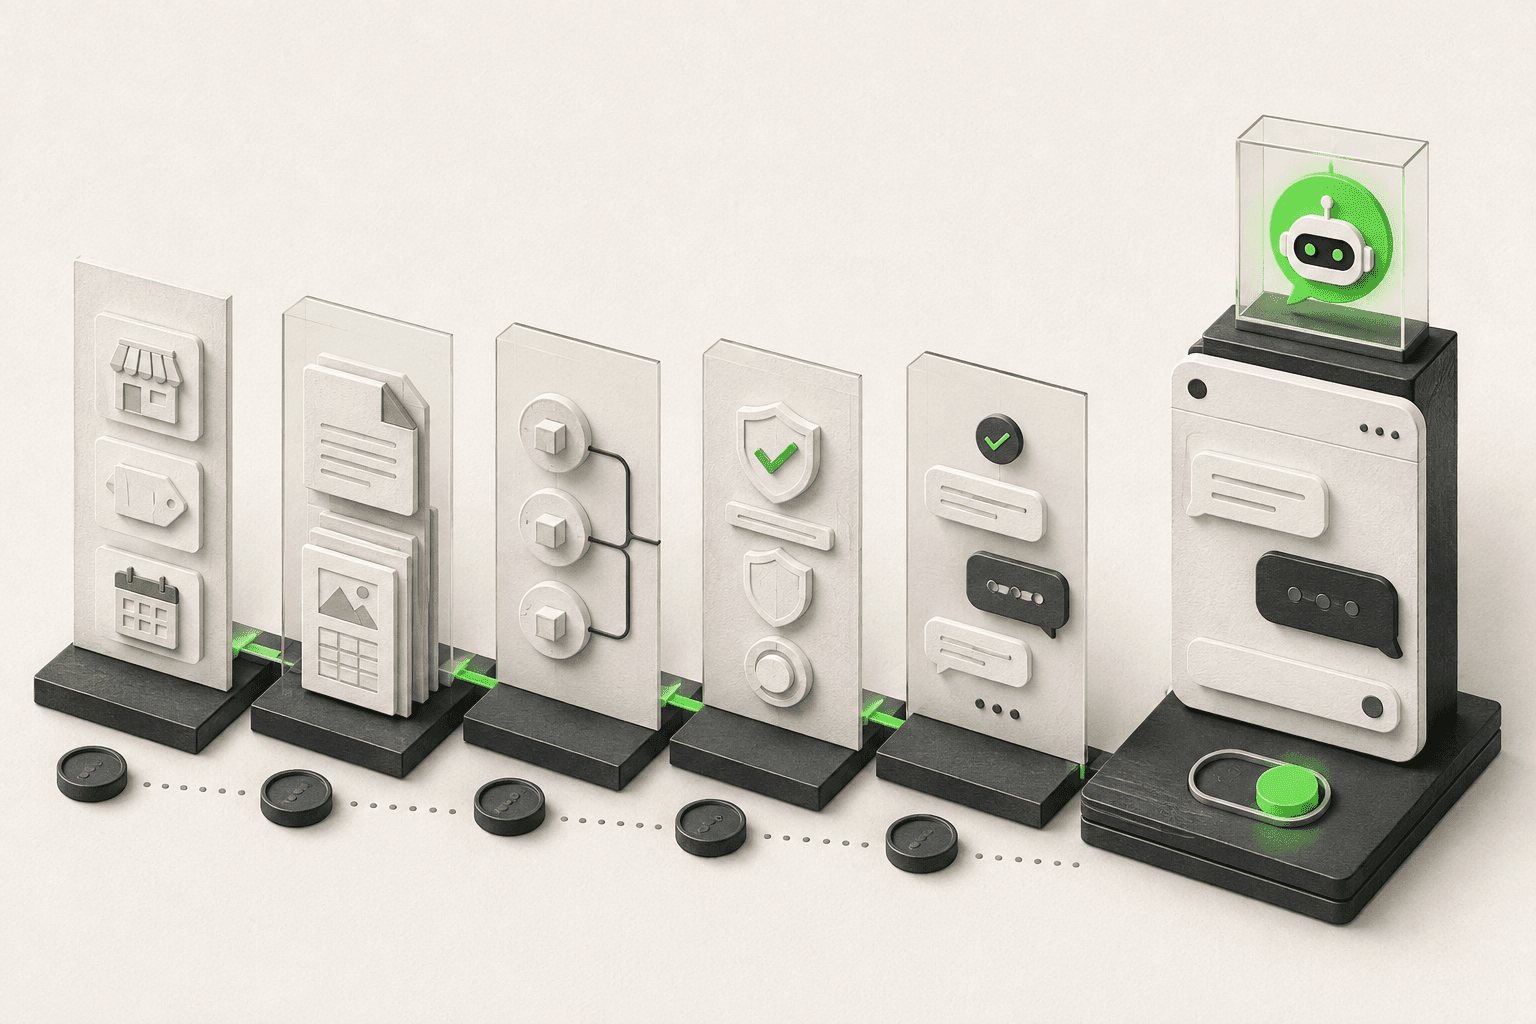
How to Build an AI Chatbot for Your Business
How to build an AI chatbot for your business: decide the jobs it should do, gather knowledge, choose channels, test, and go live in under 5 minutes.

How to Add an AI Chatbot to Shopify (Step by Step)
How to add an AI chatbot to Shopify with a theme.liquid embed — setup steps, Online Store 2.0 notes, and what a Shopify chatbot can and can't access.

How to Add an AI Chatbot to Webflow (Step-by-Step)
Add an AI chatbot to Webflow with one script tag — Custom Code placement, plan requirements, the publish gotcha, and troubleshooting, explained step by step.

Add an AI Chatbot to WordPress (No Plugin Bloat)
How to add an AI chatbot to WordPress with a lightweight script embed — where to paste it, page-builder specifics, and how to avoid plugin bloat.