Add an AI Chatbot to WordPress (No Plugin Bloat)
How to add an AI chatbot to WordPress with a lightweight script embed — where to paste it, page-builder specifics, and how to avoid plugin bloat.

TL;DR: You can add an AI chatbot to WordPress two ways — install a plugin, or paste a single async JavaScript snippet directly into your theme. The plugin route is faster for non-technical site owners; the script-embed route is faster to load, easier to audit, and doesn't add another plugin to your update queue. This guide covers both, with exact paste locations for the block editor, classic themes, child-theme footers, and page builders (Elementor, Divi), a functions.php caution most tutorials skip, a performance checklist, common troubleshooting fixes, and how to prep your knowledge base before you go live. For the fastest path with zero code, see the Hyperleap AI WordPress integration — it covers the official plugin.
Your WordPress Site Is Losing Visitors It Never Talks To
Someone lands on your WordPress site at 9:47pm. They read your pricing page, scroll your FAQ, and have one question your copy doesn't answer — "does this work with my setup" or "how long does onboarding take." There's no one to ask. They close the tab.
That's not a traffic problem. It's a conversion problem, and it's the most common reason site owners search for "how to add a chatbot in WordPress" in the first place. The fix isn't more content — it's a way for visitors to ask a question and get an answer immediately, from your own site's content, without waiting for a reply from a contact form that lands in an inbox no one checks until Monday.
An AI chatbot embedded on WordPress solves this by sitting on top of your existing site — no rebuild, no new CMS, no migration. But how you add it matters more than most tutorials admit. Install the wrong plugin and you've added another piece of software that needs updates, another potential conflict with your theme, and another few hundred kilobytes on every page load. This guide walks through the leaner alternative — a direct script embed — alongside the plugin route, so you can pick based on your actual technical comfort level rather than defaulting to "there's a plugin for that."
What "Adding a Chatbot to WordPress" Actually Means
A WordPress chatbot is a small piece of JavaScript that renders a chat widget — typically a bubble in the bottom corner of your site — and connects it to an AI system trained on your business content. It is not a WordPress core feature; it's an external service whose interface gets embedded into your pages.
There are exactly two mechanisms for getting that JavaScript onto your site:
- A WordPress plugin that registers the script for you through the WordPress admin, usually with a settings page where you paste an ID or API key.
- A direct script embed — one
<script>tag placed manually (or via a lightweight code-injection plugin like WPCode) into your theme's footer, functions.php, or a specific page template.
Both produce the same visible result: a chat widget on your site. They differ in what happens behind the scenes.
| Plugin | Direct script embed | |
|---|---|---|
| Setup time | 2-3 minutes (search, install, activate, paste ID) | 5-10 minutes (locate the right file or use WPCode) |
| Technical skill needed | None | Basic comfort with copy-paste and file locations |
| Extra plugin to maintain/update | Yes | No (or one lightweight snippet-manager plugin, reusable for anything) |
| Page-load footprint | Plugin's own loader + the widget script | Just the widget script, loaded async |
| Works if you switch themes | Usually yes (plugin persists) | Yes, if placed in a child theme or a snippet manager (not the parent theme's footer.php) |
| Best for | Non-technical site owners, fastest path | Owners who want the smallest footprint and full control over placement |
Hyperleap AI offers both: an official WordPress plugin on WordPress.org for the no-code path, and a single async JavaScript snippet for the direct-embed path described below. Neither route touches your WooCommerce cart, product catalog API, or order database — the chatbot answers from a knowledge base you upload (FAQs, service pages, policies), it doesn't sync live with WordPress data. If your business runs on more than one platform — say a WordPress blog alongside a Shopify store — the same widget deploys the same way across any of them; see our website chatbot embed guide for the platform-by-platform breakdown.
Who this guide is for
Site owners and marketers comfortable editing a theme file or using a code-snippet plugin, who want to avoid installing a dedicated chatbot plugin just to load one script. If you'd rather skip file editing entirely, the WordPress integration page walks through the plugin-only path.
Why "Just Install a Plugin" Isn't Always the Right Answer
Plugin sprawl is a real cost on WordPress sites, and it's worth naming before recommending one more plugin.
Every plugin is a maintenance line item
The average WordPress site accumulates plugins faster than it prunes them. Each one needs updates, each update carries a small chance of breaking something else installed, and each abandoned plugin (common — many chatbot plugins on the directory haven't been updated in over a year) becomes a security liability that a site audit eventually flags. A chatbot plugin that's "just a wrapper around a script tag" adds maintenance overhead for zero functional gain over pasting the script directly.
Plugin loaders add their own weight
Many chatbot plugins don't just load the widget script — they load their own admin-panel JavaScript, settings framework, and sometimes a jQuery dependency, even on the front end where none of that is needed. That's extra HTTP requests and parse time your visitors pay for on every page, whether or not they ever open the chat.
You lose granular placement control
Most plugins offer a single global toggle: on or off, site-wide. If you want the chatbot on your service pages but not your checkout flow, or only on posts tagged "support," a plugin's settings page often can't do that — a direct embed with a conditional tag can.
The counter-argument for plugins
None of this means plugins are wrong. If you don't want to touch a single file, don't have FTP or file-manager access, or manage the site through an agency that only interacts via the WordPress admin, the plugin route is the correct choice — it's faster, safer for non-developers, and the maintenance cost of one well-supported plugin is small. The official Hyperleap AI Chat plugin exists specifically for this case: search "Hyperleap AI Chat" in Plugins → Add New, paste your Chatbot ID and Embed Key, done.
The point of this guide is that you have a real choice — and for anyone comfortable with a five-minute file edit, the script-embed route is lighter, more controllable, and one fewer thing to update every time WordPress ships a core release.
If you'd rather skip file editing entirely, see the Hyperleap AI WordPress integration — the official plugin sets up your WordPress chatbot in under 5 minutes.
7 Ways to Add an AI Chatbot to WordPress Without Plugin Bloat
1. Paste the script into your child theme's footer
What this looks like in practice: Open Appearance → Theme File Editor in your WordPress admin, select your child theme's footer.php, and paste the chatbot's script tag immediately before the closing </body> tag.
Why the child theme matters: If you edit the parent theme's footer.php directly, the next theme update overwrites your change and silently removes the chatbot. A child theme's files survive parent-theme updates. If you don't already have a child theme, this is the moment to create one — WordPress.org documents the process, and it's a five-minute one-time setup that protects every future customization, not just this one.
Key detail: Place the script tag as close to </body> as possible, not in <head>. Scripts loaded in the footer don't block the browser from rendering your visible content first.
2. Use a code-snippet plugin instead of a theme file
What this looks like in practice: Install a lightweight, purpose-built snippet manager like WPCode (free tier is sufficient), create a new HTML snippet, paste the script, and set its insertion location to "footer" with a global or page-specific display rule.
Why it works: A snippet manager gives you the placement control of a direct embed — including per-page, per-post-type, or per-category display rules — without ever touching a theme file. It's also the safer choice if you're not fully comfortable in the Theme File Editor, since a typo there can produce a fatal error on your entire site. WPCode validates and sandboxes snippets before saving.
Key features:
- Conditional display rules (show chatbot only on service pages, hide on checkout)
- No FTP or file-manager access required
- Survives theme changes and updates automatically
3. Add it through the Block Editor (Gutenberg) via a Custom HTML block
What this looks like in practice: On a specific page or post, add a Custom HTML block and paste the script tag directly into it.
Why this is the narrowest option: This method only loads the chatbot on the pages where you've added the block — it won't appear site-wide. That's useful if you want the chatbot on a single landing page (say, a service page you're driving ad traffic to) without adding it everywhere. It's a poor choice if you want the chatbot available across your whole site, since you'd need to repeat the block on every page.
Best for: Single-page campaigns, landing pages, or testing the chatbot on one page before rolling it out site-wide.
4. Register it through a functions.php hook — with a caution
What this looks like in practice: Add a wp_footer action hook in your child theme's functions.php that echoes the script tag, so it loads automatically on every page without touching template files directly:
function hyperleap_chat_widget() {
    ?>
    <script async src="https://your-chatbot-embed-url.example.com/widget.js" data-chatbot-id="YOUR_CHATBOT_ID"></script>
    <?php
}
add_action( 'wp_footer', 'hyperleap_chat_widget' );
The caution most tutorials skip: functions.php runs on every single page load, and a syntax error in it — a missing semicolon, an unclosed bracket — doesn't just break the chatbot, it can take down your entire site with a fatal error, sometimes locking you out of the admin panel too. Before editing functions.php directly:
- Always edit a child theme's
functions.php, never the parent theme's. - Take a backup or use a staging site if your host offers one.
- Test the change on a staging environment first if your traffic volume makes downtime costly.
- If any of that sounds like too much risk for a five-minute change, use option 2 (a snippet manager) instead — it achieves the identical result with a safety net.
Why it's still worth knowing: For developers who already work in functions.php regularly, this is the cleanest, most "native" way to guarantee the chatbot loads on every page without an extra plugin dependency at all.
5. Configure it in Elementor (theme builder / footer template)
What this looks like in practice: If your site is built with Elementor and you use Elementor Theme Builder for your footer template, edit that global footer, add an HTML widget, and paste the script inside it. Because the footer template applies site-wide, the chatbot appears on every page automatically.
Why it works well with Elementor specifically: Elementor's HTML widget renders raw code exactly where you place it in the visual builder, and since the footer template is shared across the whole site, you get global placement with the safety of Elementor's own version history (so you can roll back if something looks wrong).
If you don't use Elementor Theme Builder for your footer: Add the HTML widget to the footer section of your main page template, or fall back to option 2 (WPCode) for guaranteed site-wide coverage.
6. Configure it in Divi (Theme Builder footer)
What this looks like in practice: In the Divi Theme Builder, edit your global footer template, add a Code module, and paste the script tag inside it.
Why it works well with Divi specifically: Like Elementor, Divi's Theme Builder footer applies across the entire site once set, so a single Code module placement covers every page. Divi's Code module also strips its own wrapping markup around raw script tags, which avoids the double-wrapping issue that sometimes affects Text modules used for the same purpose.
Common mistake to avoid: Don't paste the script into a Text module — Divi's Text module can escape or sanitize embedded script tags depending on your Divi version, which silently prevents the chatbot from loading. Always use the dedicated Code module for raw HTML/JavaScript.
7. Use the official plugin when you want zero file editing
What this looks like in practice: Search "Hyperleap AI Chat" in Plugins → Add New, install and activate it, then paste your Chatbot ID and Embed Key into the plugin's settings page.
When this is the right call: You manage the site without FTP or file-manager access, you're not comfortable in the Theme File Editor, or you want the chatbot live in under five minutes with no risk of a functions.php typo. The Hyperleap AI WordPress integration page covers the full plugin setup, including WooCommerce-specific notes and page-targeting via WPCode display rules.
Trade-off to know: You're adding one more plugin to your update queue. For most sites this is a fair trade for the time saved — just don't install this and manually add the script elsewhere, or you'll load the widget twice. If you want to see the widget and its lead-capture flow before touching WordPress at all, the no-code chatbot builder lets you configure and preview it first.
Performance: Why Script Placement Actually Matters
WordPress site owners are rightly protective of page speed — a chatbot that tanks your Core Web Vitals defeats its own purpose by driving away the visitors it's meant to capture.
Always use the async attribute. A script tag with async downloads in the background without blocking the browser from parsing and rendering the rest of your page. Hyperleap's embed script ships with async by default — your visitors see your page content at full speed, and the chat widget initializes a moment after, once the page is already usable.
Footer placement beats head placement. Scripts placed in <head> without async or defer block rendering until they finish downloading — a classic Core Web Vitals killer. Every method in this guide places the script at or near </body>, which is the correct default even with async set, since it keeps the script out of the browser's initial parsing path entirely.
One widget script beats plugin-bundled dependencies. This is the practical case for the direct-embed methods over a heavier plugin: a single async script is a smaller, more predictable performance cost than a plugin that also loads its own settings framework or a jQuery dependency on the front end. If you're already running a page-speed-sensitive WooCommerce store, this difference compounds across every add-to-cart and checkout page.
Test after you install. Run your site through Google's PageSpeed Insights or a Core Web Vitals check both before and after adding the chatbot. A well-implemented async embed should show negligible change to Largest Contentful Paint (LCP) — if you see a meaningful regression, check that the script actually has async set and that it's loading from the footer, not the head. For a deeper look at embed patterns, payload budgets, and accessibility beyond WordPress specifics, see our chat widget guide.
Quick performance check
After installing, view your page source (Ctrl/Cmd+U) and search for the chatbot's script tag. Confirm it includes async and sits just before </body>. If it's inside <head> without async or defer, move it — that's the single most common cause of a chatbot-related speed regression.
Troubleshooting: When the Chatbot Doesn't Appear
The widget doesn't show up at all. Clear any page caching plugin (WP Rocket, W3 Total Cache, LiteSpeed Cache) after adding the script — cached HTML from before the edit won't include it. Also check your browser's developer console (F12 → Console tab) for a blocked-script or CORS error, which usually points to a security plugin (Wordfence, Sucuri) or a Content Security Policy header blocking the external script domain.
It shows up on some pages but not others. This almost always means the script was added via a Custom HTML block (method 3) or a page-specific snippet rule, not a site-wide footer placement. Decide whether that's intentional — if you want it everywhere, switch to the child-theme footer, functions.php hook, or a global WPCode rule instead.
It appeared, then disappeared after a theme update. You edited the parent theme's footer.php directly instead of a child theme's. Theme updates overwrite parent theme files. Move the script into a child theme or a snippet manager so it survives future updates.
It's duplicated — two widgets on the same page. You've likely installed the plugin and added the manual script (or added the manual script in two places, like both the footer and a Custom HTML block). Remove one — never run both the plugin and a manual embed simultaneously.
A caching or minification plugin is stripping the async attribute or mangling the script. Some aggressive HTML-minification settings rewrite inline attributes. Add the chatbot's script domain to your caching plugin's exclusion list if this happens, or switch that specific optimization off for the widget's script tag.
Elementor or Divi preview shows the widget, but the live site doesn't. Confirm you edited the published footer template, not a draft or a different template applied to a specific page type. Both builders let you assign different footer templates to different page conditions — check which template actually applies to the pages where the chatbot is missing.
Prepping Your Knowledge Base Before You Go Live
The embed method gets the widget on your site; it's your knowledge base that determines whether the chatbot is actually useful. An AI chatbot answers from documents you upload — it does not know your business until you tell it.
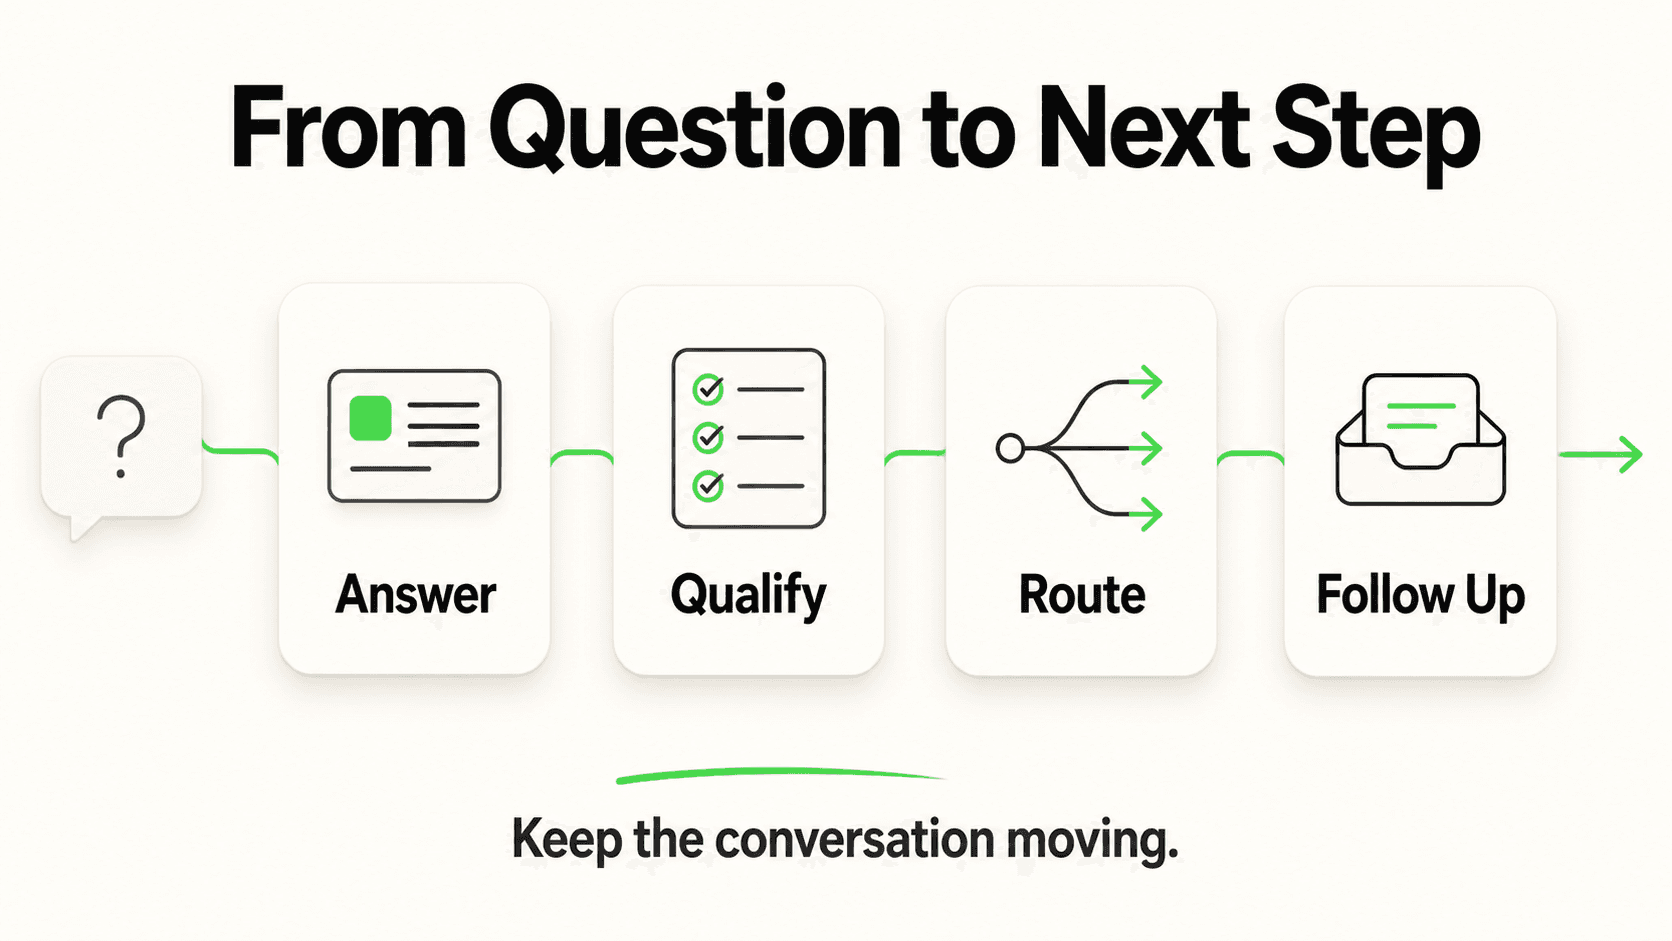
Start with what visitors actually ask. Pull your most common support emails, contact-form submissions, and any FAQ page content you already have. These are the questions your chatbot needs to answer on day one — not hypothetical ones.
Upload structured, current content. Service descriptions, pricing pages, shipping and return policies (if you run WooCommerce), business hours, and location details. Keep it current — an AI chatbot trained on stale pricing will confidently give visitors the wrong number, which is worse than no answer at all.
Write for extraction, not just for humans. Short, direct paragraphs that answer one question each work better as chatbot source material than long marketing copy that buries the answer in the third paragraph. If your existing WordPress content reads more like brand storytelling than an FAQ, consider adding a dedicated FAQ page purely for this purpose.
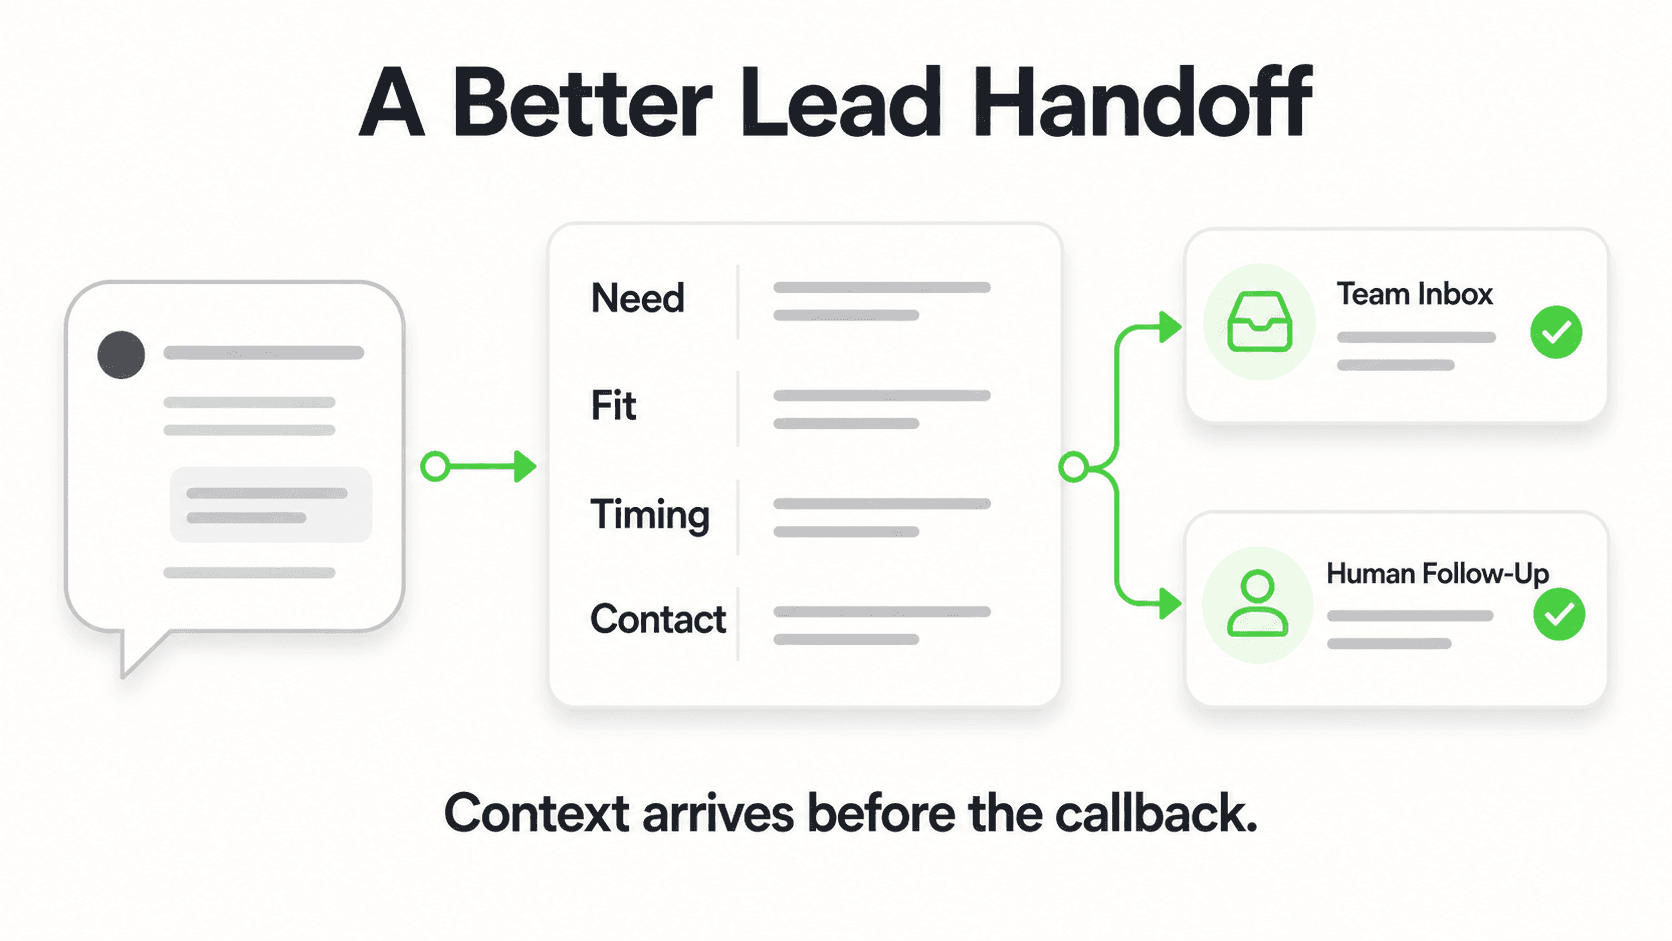
Set boundaries explicitly. Tell the chatbot what it should escalate rather than guess at — order status lookups, account-specific issues, anything requiring real-time data your knowledge base doesn't contain. Hyperleap AI's chatbots are designed to answer only from the documents you provide (document-grounded responses via retrieval-augmented generation), which minimizes made-up answers, and route what they can't answer to your team instead of guessing.
Connect leads to the team that follows up. Every conversation captures visitor name, email, and phone number through a lead form before the chat continues, and lands in your Hyperleap inbox. If you want those leads flowing into your CRM automatically rather than checked manually, see our guide on chatbot-to-CRM integration — it covers the REST API and webhook approach for connecting new leads to whatever system your sales team already uses.
For a deeper walkthrough of structuring content specifically for chatbot accuracy, see our guide on AI chatbot knowledge base best practices.
Implementation Roadmap
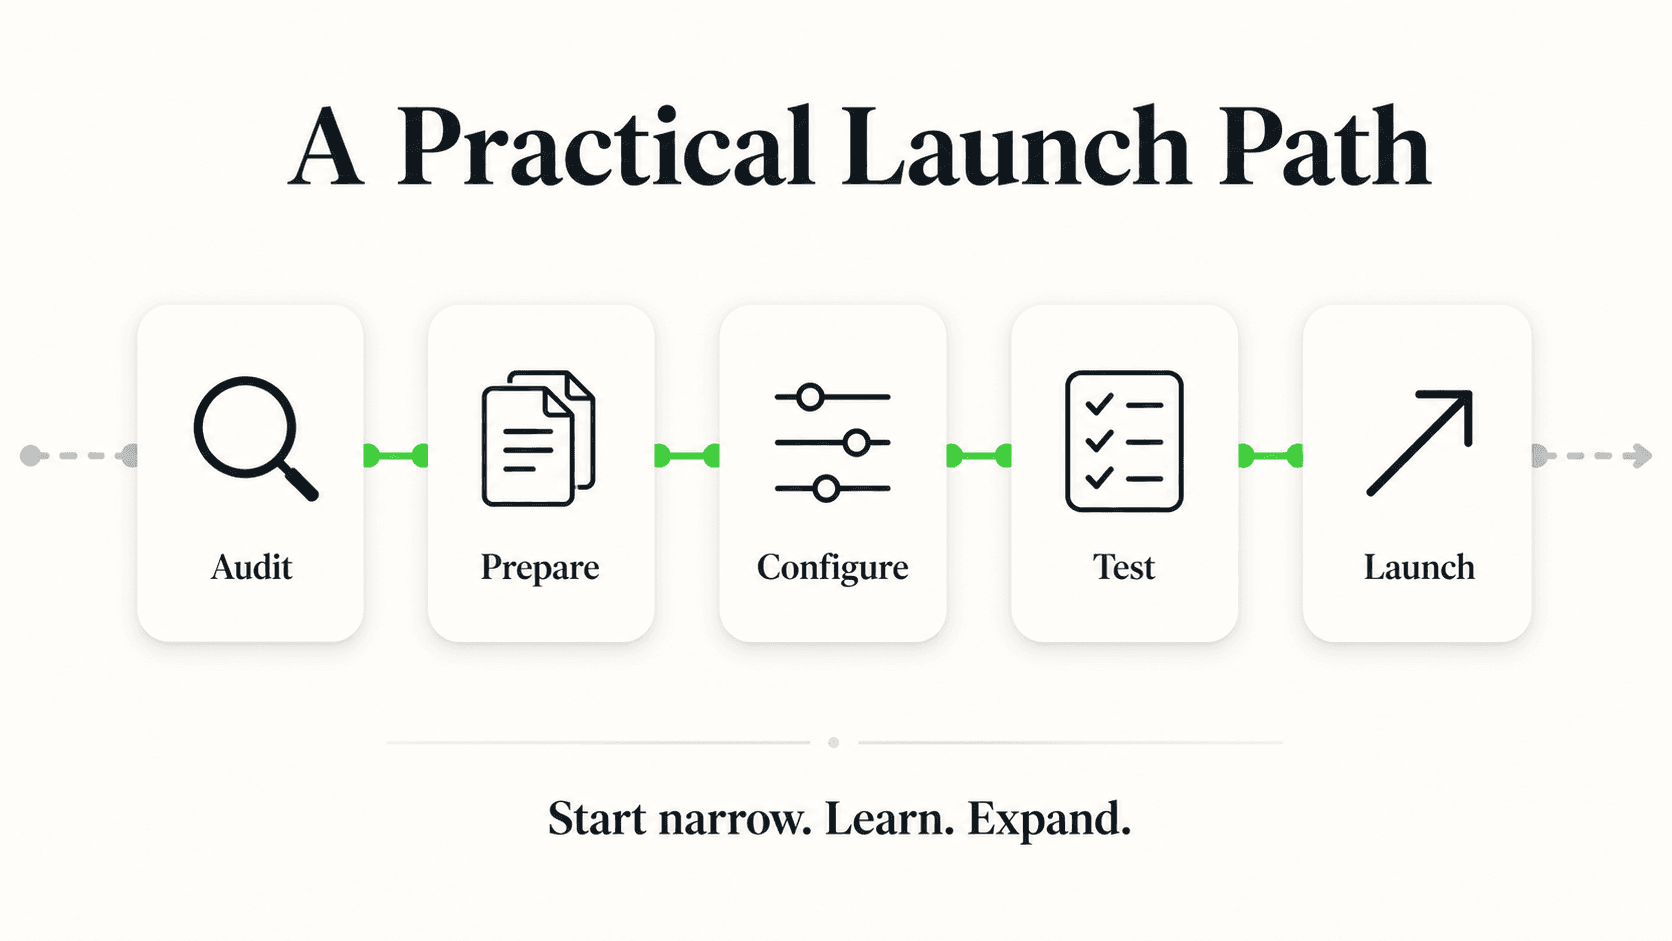
Day 1 — Choose your method. Non-technical, no file access: use the official plugin. Comfortable with a five-minute file edit and want the lightest footprint: pick a script-embed method above based on your builder (child theme footer, WPCode, Elementor, Divi, or functions.php if you're a developer).
Day 1-2 — Prep your knowledge base. Gather your FAQ, pricing, and policy content while the technical setup is happening in parallel. This is usually the longer task, not the embed itself.
Day 2 — Install and test. Add the script or plugin, clear your cache, and load the site in an incognito window to confirm the widget appears without stale cache interference. Ask it three or four real questions a visitor would ask.
Day 3 — Run a performance check. Test with PageSpeed Insights before and after. Confirm async is set and the script loads from the footer.
Week 1 — Review real conversations. Most platforms, including Hyperleap AI, show you a log of what visitors actually asked. Use it to spot knowledge-base gaps and add missing content.
Ongoing — Treat the knowledge base as a living document. Update it whenever your pricing, hours, or policies change — the same way you'd update any other page on your site.
Set up your WordPress chatbot today
Start a 7-day free trial and get the official Hyperleap AI plugin or embed script live on your WordPress site in minutes.
Start Free TrialRunning a static HTML site instead of WordPress? The HTML chatbot guide covers the same embed mechanics for plain markup.
Frequently Asked Questions
Do I need to know how to code to add a chatbot to WordPress?
No. The official Hyperleap AI plugin requires zero code — search "Hyperleap AI Chat" in Plugins → Add New, paste your Chatbot ID and Embed Key, and the widget goes live. If you want the lighter script-embed route instead, a code-snippet plugin like WPCode also requires no coding — just copy and paste. Editing functions.php or a theme file directly is the only method here that assumes basic comfort with code.
Will adding a chatbot slow down my WordPress site?
Not meaningfully, if implemented correctly. The chatbot script should load with the async attribute from the page footer, which means it downloads in the background without blocking your page from rendering. Check your Core Web Vitals with PageSpeed Insights before and after installing to confirm no regression — if you see one, the most common cause is a script placed in <head> without async.
What's the difference between the WordPress plugin and a manual script embed?
The plugin registers the widget script for you through the WordPress admin and adds itself to your plugin update queue. A manual script embed — pasted into a child theme footer, functions.php, or a snippet manager like WPCode — achieves the identical visible result without adding a dedicated plugin, giving you a slightly smaller performance footprint and finer control over which pages show the widget. Never run both at once; that duplicates the widget.
Does a WordPress AI chatbot work with WooCommerce?
Yes, as a knowledge-base chat widget embedded on any WooCommerce page. Upload your product descriptions, shipping policies, and return policies to the chatbot's knowledge base and it will answer product and order questions from that content, 24/7. It does not connect to your live WooCommerce cart, product catalog API, or order-management system — it answers from the documents you've given it, not from real-time store data.
Can I show the chatbot on only some pages, not my whole site?
Yes. A code-snippet plugin like WPCode includes display rules that target specific pages, post types, categories, or URLs — show the chatbot on service pages only, for example, and hide it on checkout. Developers can achieve the same result in functions.php using conditional tags like is_page() or is_woocommerce(). The WordPress plugin's settings, by contrast, typically only offer a global on/off toggle.
My chatbot disappeared after I updated my WordPress theme. Why?
You most likely added the script directly to your parent theme's footer.php file. Theme updates overwrite the parent theme's files, silently removing anything added there. Move the script into a child theme's footer, a code-snippet plugin (WPCode), or the official plugin — all three survive theme updates.
How do I know the chatbot's answers will be accurate?
Accuracy depends on your knowledge base, not just the embed. Upload current, specific content — FAQs, pricing, policies — and the chatbot answers only from what you've given it (document-grounded responses designed to minimize hallucinations), routing questions it can't answer to your team rather than guessing. Review the conversation logs in your first week live and fill any gaps you find.
Is there a free way to add an AI chatbot to WordPress?
Hyperleap AI offers a 7-day free trial (credit card required) on every plan, starting at $40/month for Plus — see the full pricing breakdown for what's included at each tier. There's no permanent free plan, but the trial period is enough to fully set up either the plugin or a script embed, upload your knowledge base, and test real conversations on your live WordPress site before deciding.
The Right Method Is the One That Matches Your Setup
There's no universally "correct" way to add an AI chatbot to WordPress — there's the method that matches how comfortable you are in your site's admin. If you don't want to touch a file, the official plugin gets you live in minutes. If you want the smallest possible performance footprint and full control over placement, a direct async script embed in a child theme, a snippet manager, or your page builder's footer template achieves the same result with one fewer plugin to maintain.
What actually determines whether the chatbot pays for itself isn't the embed method — it's whether the knowledge base behind it can answer the questions your visitors are already asking at 9pm, on weekends, while you're closed. Get the embed right in an afternoon; spend the rest of the week getting the content right. Running other platforms alongside WordPress? Browse the full list of website integrations Hyperleap AI supports.
Ready to stop losing after-hours visitors?
Get an AI chatbot live on your WordPress site with a 7-day free trial — plugin or script embed, your choice.
Get StartedRelated Articles

How to Add an AI Chatbot to Webflow (Step-by-Step)
Add an AI chatbot to Webflow with one script tag — Custom Code placement, plan requirements, the publish gotcha, and troubleshooting, explained step by step.

How to Add an AI Chatbot to Shopify (Step by Step)
How to add an AI chatbot to Shopify with a theme.liquid embed — setup steps, Online Store 2.0 notes, and what a Shopify chatbot can and can't access.
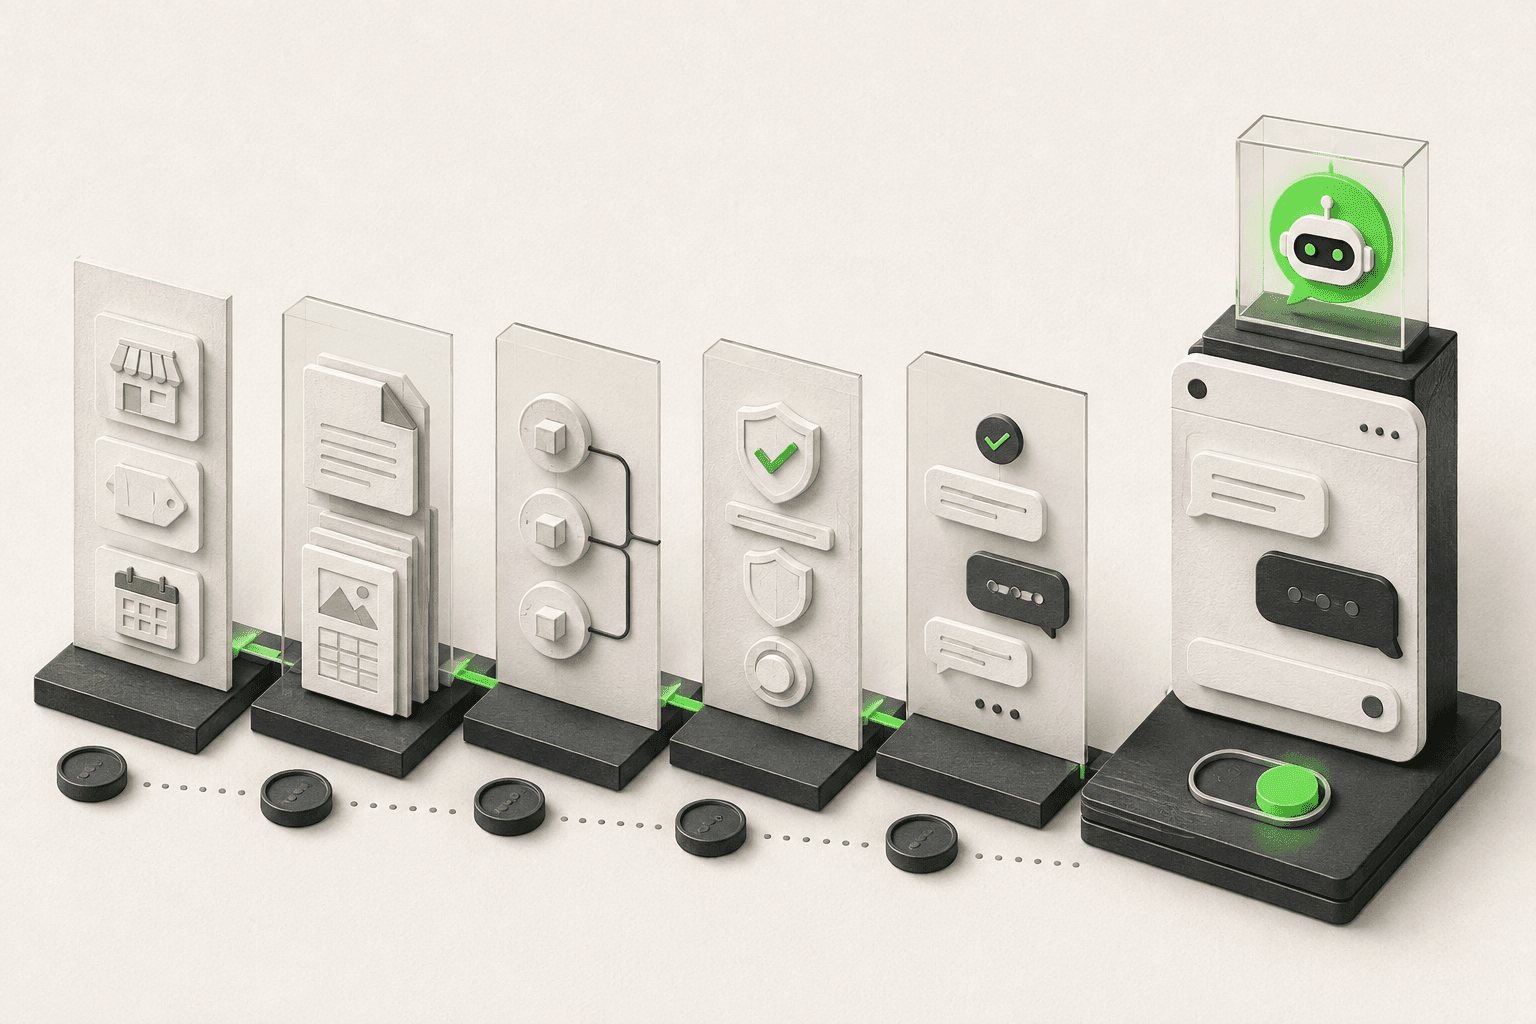
How to Build an AI Chatbot for Your Business
How to build an AI chatbot for your business: decide the jobs it should do, gather knowledge, choose channels, test, and go live in under 5 minutes.
How to Add an AI Chatbot to an HTML Website
Add an AI chatbot to a plain HTML site with one script tag before </body>. Step-by-step setup, testing, styling, and knowledge base tips.