How to Add an AI Chatbot to Shopify (Step by Step)
How to add an AI chatbot to Shopify with a theme.liquid embed — setup steps, Online Store 2.0 notes, and what a Shopify chatbot can and can't access.

TL;DR: You add an AI chatbot to Shopify by pasting a single embed script into theme.liquid through Online Store → Themes → Edit Code — no Shopify app required, live in under five minutes. This guide covers the exact steps for both Online Store 2.0 and vintage (2.0-ineligible) themes, a Custom Liquid section method for showing the widget on specific pages only, a theme-backup step most tutorials skip, and — critically — what a Shopify chatbot is (a knowledge-base chat widget that answers from your uploaded FAQs, policies, and shipping/return docs) versus what it is not (it does not connect to your live product catalog, cart, or order data through Shopify's e-commerce API). For a shorter, product-focused walkthrough with screenshots, see the Hyperleap AI Shopify integration page.
The Question Your Shopify Store Can't Answer at 11pm
A shopper lands on your Shopify store on a Saturday night. They've added a jacket to their cart, but they're stuck on one question your product page doesn't cover — does it run small, what's the actual return window, does it ship to their province by the date they need it. There's no live chat operator. There's a contact form that promises a reply "within 1-2 business days." They close the tab and, more often than not, they don't come back.
That single unanswered question is one of the most common reasons Shopify merchants search for "Shopify AI chatbot" or "how to add a chatbot to Shopify" in the first place. It's not a traffic problem — you already paid for that visit through ads, SEO, or an email campaign. It's an availability problem: your best salesperson (accurate, instant answers to pre-purchase objections) isn't on shift outside business hours, and cart abandonment doesn't wait for Monday.
An AI chatbot fixes the availability gap without a re-platform, a new app subscription stack, or a developer sprint. It sits on top of your existing Shopify theme and answers the questions that are already documented somewhere in your business — your FAQ page, your shipping policy, your size guide — just not in a place a shopper can ask it directly at midnight. This guide walks through exactly how to embed one, what it can and can't do on Shopify, and how to avoid the mistakes that make a chatbot answer confidently and wrong.
Who this guide is for
Shopify store owners and marketers comfortable making a theme-code edit through the Shopify admin. If you'd rather see the shorter version with the exact click-by-click screenshots, the Shopify chatbot integration page covers the same embed method with visuals for each step.
What a Shopify Chatbot Actually Is — and Isn't
A Shopify chatbot is a small piece of JavaScript that renders a chat widget, usually a bubble in the bottom corner of your storefront, connected to an AI system trained on content you upload. It is a chat-widget embed — a script tag that sits on top of your theme — not a native Shopify app that reads from Shopify's backend systems.
That distinction matters more on Shopify than on almost any other platform, because Shopify stores run on live, constantly changing commerce data: inventory counts, cart contents, order status, discount codes applied at checkout. It's tempting to assume an "AI chatbot for Shopify" can see all of that. Here's the accurate picture:
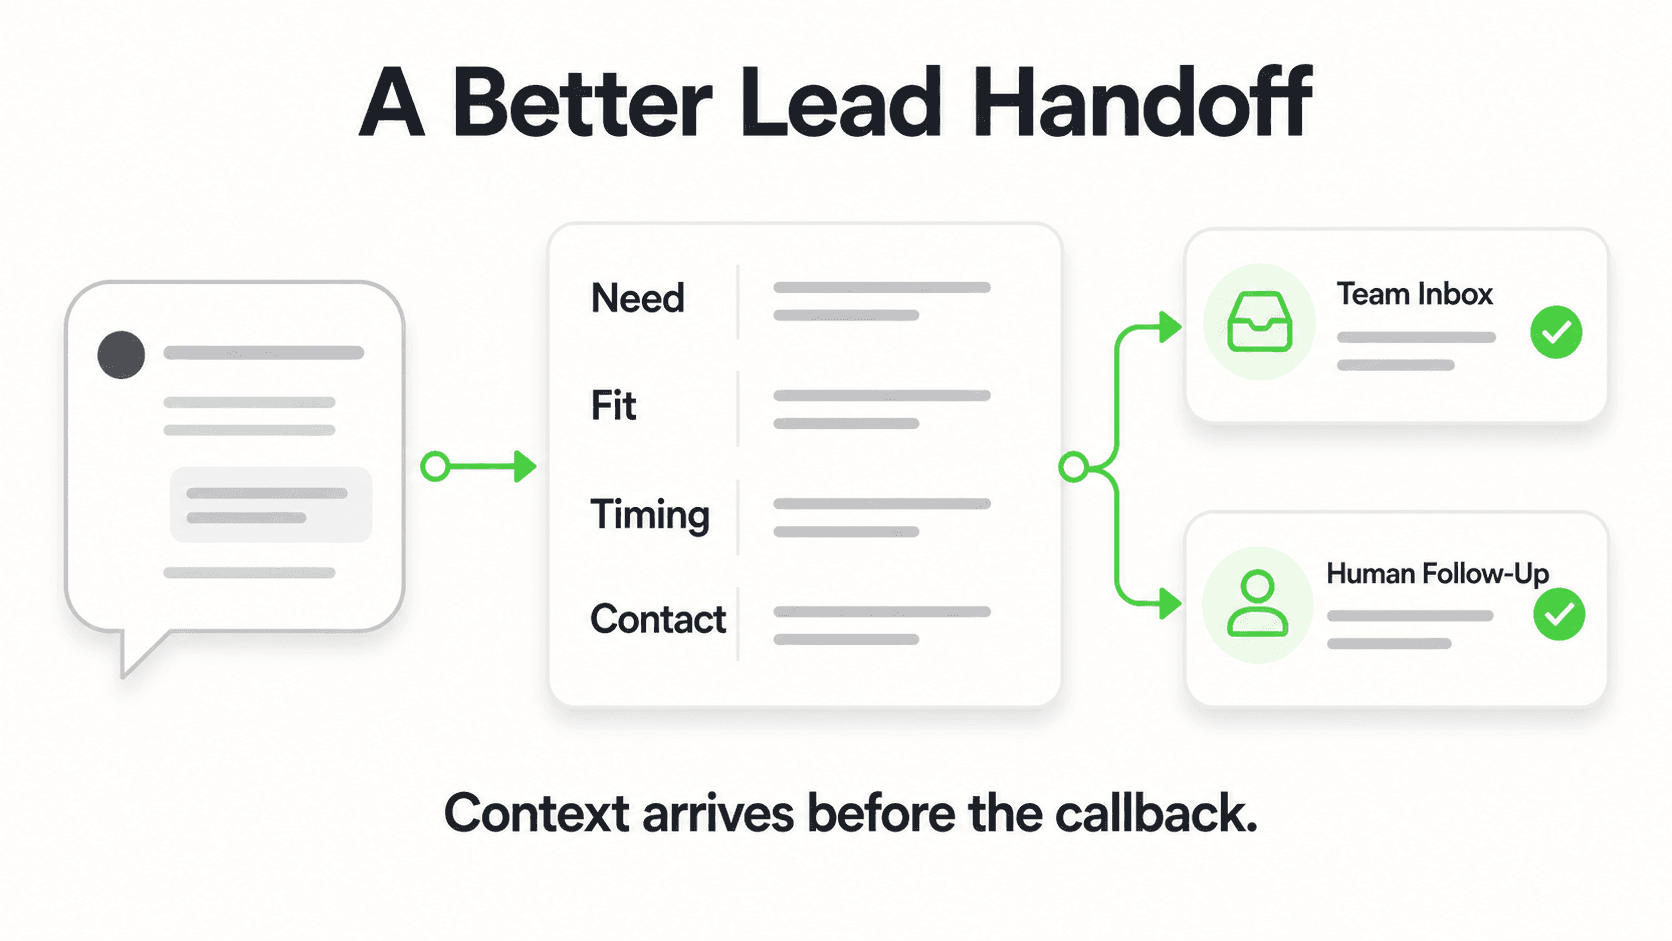
What it does: Answers from a knowledge base you upload — product descriptions, sizing charts, shipping timelines, return and exchange policy, care instructions, wholesale terms, store hours, and general FAQs. It captures a lead's name, email, and phone number through a lead form before continuing the conversation, and routes anything outside its knowledge base to your support team.
What it does not do: Connect to the Shopify e-commerce API to read your live product catalog, check real-time inventory, look up a specific order, or process a payment. Hyperleap AI does not perform Shopify catalog, cart, or order integration — it is a chat-widget embed, and that's a deliberate design choice, not a current limitation waiting on a roadmap item. A chatbot that pulls from a static knowledge base gives predictable, document-grounded answers; a chatbot wired into live commerce data would need real-time sync guarantees that most SMB tooling (including most chatbot apps in the Shopify App Store) doesn't actually provide reliably.
Common misconception
"Shopify AI chatbot" search results often imply the bot can check your inventory or track an order. Be skeptical of any tool claiming this without a clearly documented, native Shopify API integration — and know that Hyperleap AI does not make this claim. It answers from your knowledge base and hands off order-specific or account-specific questions to your team.
For general product and policy questions — the majority of pre-purchase chat volume on most stores — a well-built knowledge base outperforms a live-data lookup anyway, because it gives one consistent, on-brand answer instead of exposing raw backend fields to a shopper.
Two Ways to Add a Chatbot to Shopify
There are two mechanisms for getting a chat widget live on a Shopify storefront, and which one you use mostly comes down to how comfortable you are editing theme code.
- Direct
theme.liquidembed — paste one script tag into your theme's code, once, and it appears on every page of your store automatically. This is the method covered step-by-step below. - Custom Liquid section, scoped to specific pages — for merchants who want the widget on select pages only (a landing page you're driving ad traffic to, for example) rather than site-wide.
Both work on every Shopify plan, including Basic — neither requires the Shopify App Store, and neither requires a developer unless you want page-level targeting logic beyond what's covered here.
theme.liquid embed (site-wide) | Custom Liquid section (scoped) | |
|---|---|---|
| Setup time | ~5 minutes | ~5-10 minutes |
| Coverage | Every page of your store | Only pages/templates you add the section to |
| Technical skill needed | Copy-paste into one file | Copy-paste, plus assigning the section to templates |
| Best for | Most stores — full-store coverage | Landing pages, specific collections, A/B testing chat impact |
| Survives theme changes | No — must be re-added if you switch themes | No — same caveat applies |
Step-by-Step: Adding the Chatbot to theme.liquid
This is the fastest path to a store-wide chatbot and works on both Online Store 2.0 and older ("vintage") Shopify themes.
Step 1: Get your embed script
Log in to Hyperleap AI, open your AI agent, and go to Channels → Website. Copy the embed script shown there — it contains a unique chatbot ID and embed key tied to your account, so keep it out of any public code snippet you share.
Step 2: Back up your theme first
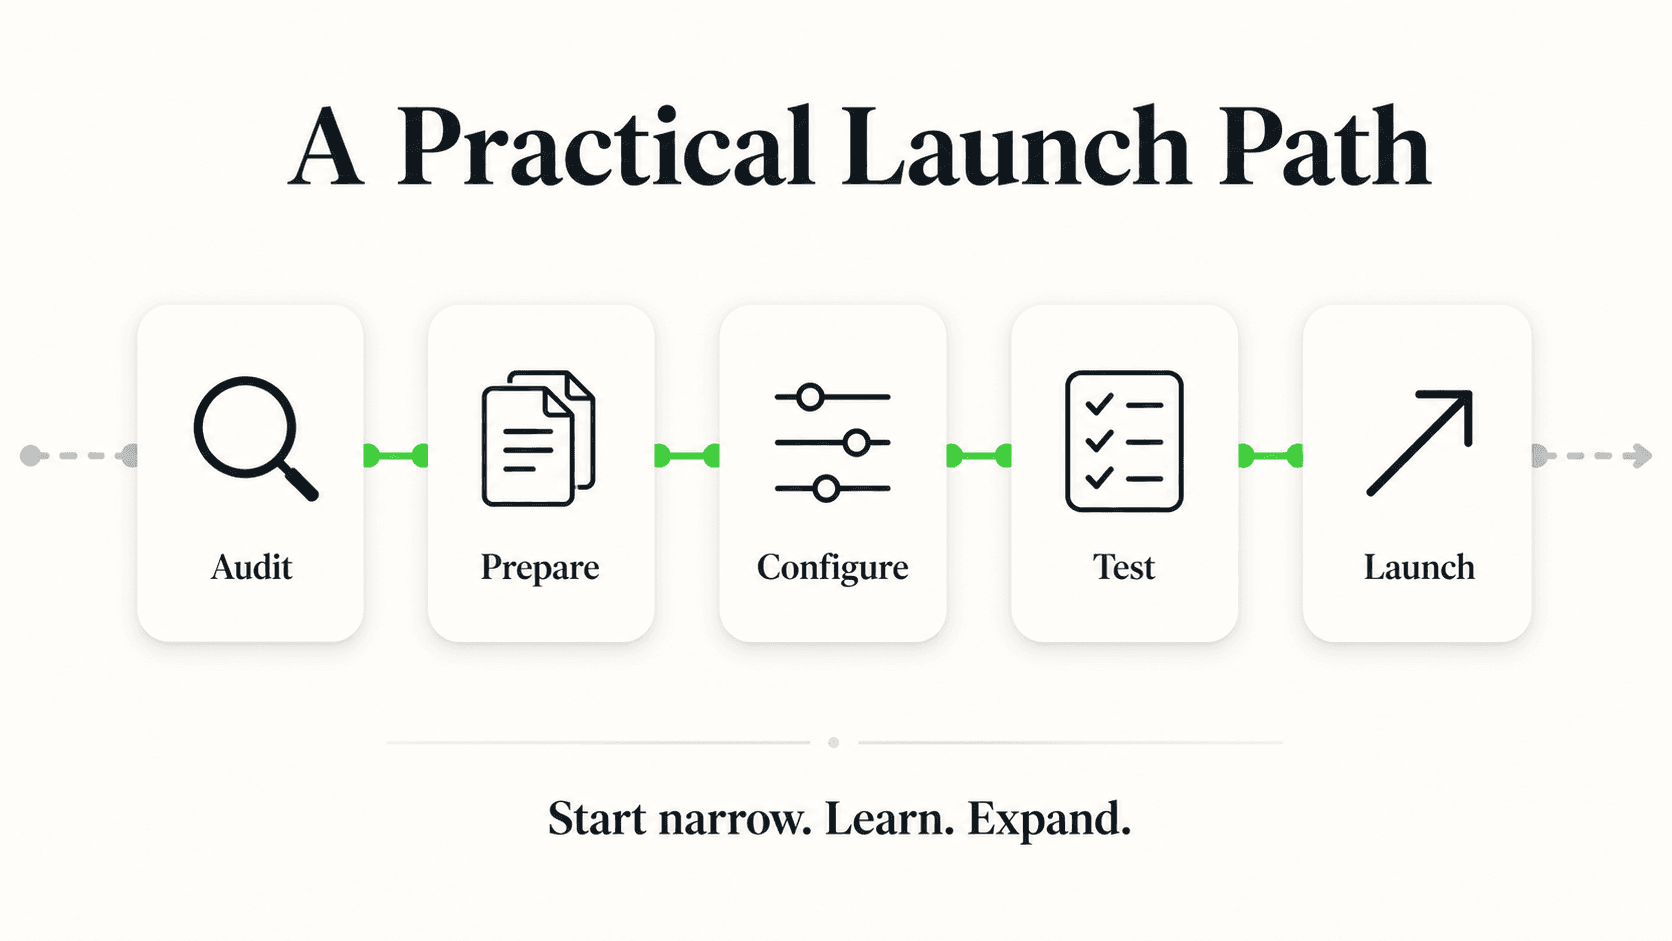
Before editing any code file, duplicate your live theme. In Online Store → Themes, click the ⋯ menu next to your published theme and choose Duplicate. This gives you a one-click rollback if anything looks wrong after the edit — a step most quick-start tutorials skip, and the one that saves you the most stress if a copy-paste error breaks something.
Step 3: Open the theme code editor
From Online Store → Themes, click the ⋯ menu next to your live theme and select Edit code. This opens Shopify's built-in code editor for that theme.
Step 4: Open theme.liquid
In the Layout folder on the left sidebar, click theme.liquid. This file wraps every page on your storefront — anything you add here appears on your homepage, product pages, collection pages, and cart, without repeating the work per template.
Step 5: Paste the script before </body>
Scroll to the very bottom of the file and find the closing </body> tag. Paste your Hyperleap embed script immediately before it:
<script async src="https://your-chatbot-embed-url.example.com/widget.js" data-chatbot-id="YOUR_CHATBOT_ID"></script>
</body>
Placing the script just before </body> — rather than in the <head> — keeps it out of the browser's critical rendering path, so it doesn't delay your product images or add-to-cart button from appearing.
Step 6: Save and test on the live storefront
Click Save. Open your storefront in a new incognito or private window (to avoid stale cache) and confirm the chat bubble appears. Start a test conversation and ask two or three questions a real shopper would ask — a shipping question, a sizing question, a return-policy question — to confirm the widget is answering from the knowledge base you've uploaded.
Online Store 2.0 note
Shopify's Online Store 2.0 themes (Dawn and most current theme-store themes) still expose theme.liquid through Edit code exactly as described above — 2.0 didn't remove that file, it added app blocks and sections-everywhere on top of it. If your theme is a pre-2.0 ("vintage") theme, the same steps apply identically; theme.liquid has been the standard layout wrapper across both theme architectures. The one thing to watch for on 2.0 themes: some theme updates from the Shopify Theme Store overwrite theme.liquid on a major version bump, the same way a WordPress parent theme update can. Re-check the embed after any theme version upgrade.
Custom Code Method: Scoping the Widget to Specific Pages
If you don't want the chatbot on every page — say, you want it live only on a high-traffic landing page or a specific collection you're testing — use a Custom Liquid section instead of the global theme.liquid edit.
In the theme editor (not Edit code):
- Go to Online Store → Themes → Customize on the page or template you want to target.
- Click Add section, then choose Custom Liquid (available in Online Store 2.0 themes; on vintage themes, use the code editor to add the script to that specific template file, e.g.
product.liquid, instead oftheme.liquid). - Paste your embed script into the Custom Liquid block.
- Save, and repeat on any other specific templates you want covered — the widget will only appear where you've explicitly added it.
When this is the right call: You're running paid traffic to one landing page and want to measure whether a chatbot improves its conversion rate before rolling it out site-wide. Or you want the widget on collection and product pages but explicitly excluded from checkout — a boundary some merchants set even though Shopify's hosted checkout page doesn't allow arbitrary script injection for non-Plus stores in the first place, which naturally already excludes the widget from checkout on most plans.
Trade-off to know: Scoped placement means you're maintaining the script across multiple template files instead of one. If you later decide to go site-wide, the theme.liquid method in the section above is less to maintain long-term.
For platform-by-platform comparisons — how the same embed differs across Shopify, WordPress, and Squarespace — see our website chatbot embed guide, and if you're weighing WordPress specifically, our WordPress chatbot guide covers the plugin-versus-script tradeoff in more depth.
Performance: Keeping Your Store Fast
Page speed is directly tied to Shopify conversion — a chatbot that slows down your product or checkout pages works against the sale it's meant to help close.
Use async on the script tag. Hyperleap's embed script ships with async by default, meaning it downloads in the background and doesn't block the browser from rendering your page. Your product images and add-to-cart button appear at full speed; the chat widget initializes a moment later.
Footer placement, not head. Every method in this guide places the script at or near </body>, which keeps it out of the initial parsing path even with async set. A script placed in <head> without async is one of the most common causes of a slow Largest Contentful Paint (LCP) after adding any third-party widget.
Test before and after with a real tool. Run your storefront through Google's PageSpeed Insights before and after the embed. A correctly implemented async widget should show negligible change to your Core Web Vitals scores. For a deeper look at embed payload budgets and accessibility considerations beyond Shopify specifics, see our chat widget complete guide.
Troubleshooting: When the Widget Doesn't Show Up
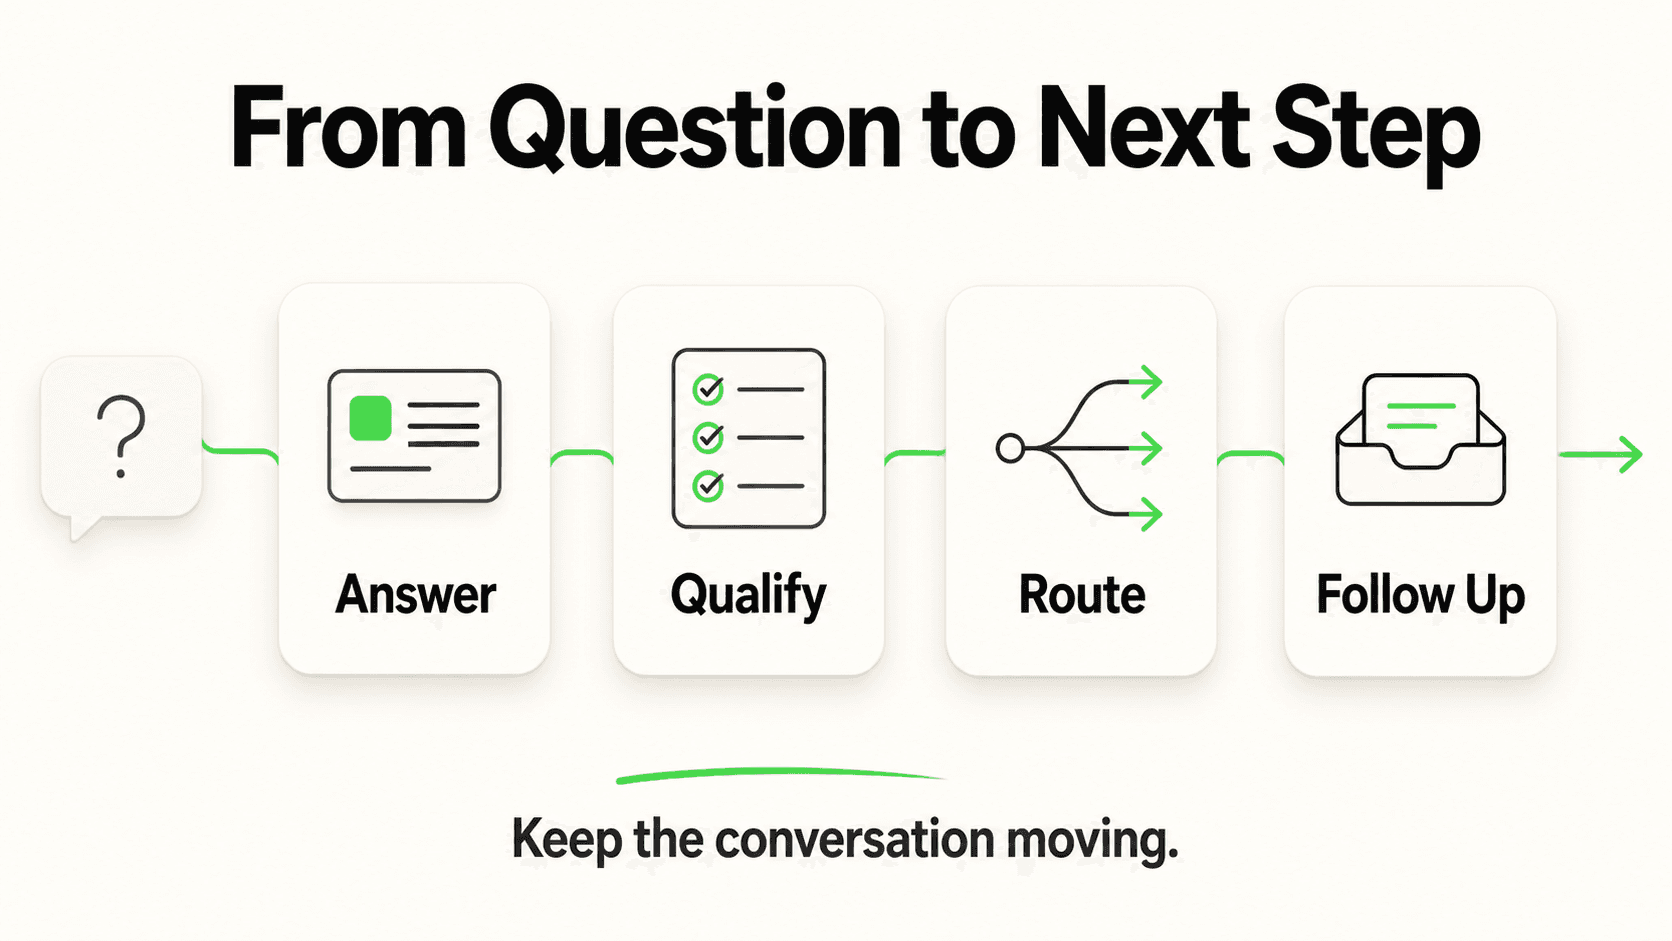
Nothing appears at all. Clear any caching or CDN layer in front of your storefront (some Shopify apps add page caching) and reload in an incognito window. Check your browser's developer console (F12 → Console) for a blocked-script or CORS error — this usually points to a Content Security Policy header set by another app, not the embed itself.
It shows on some pages but not others. This means the script was added via a scoped Custom Liquid section (the method above), not the global theme.liquid edit. If you want it everywhere, switch to the theme.liquid method.
It disappeared after a theme update. A Theme Store update to a major version can regenerate theme.liquid from the vendor's template, overwriting your edit — the same risk WordPress site owners face with parent-theme updates. Re-check and re-paste the script after any theme version bump, and keep a note of the exact line so it's a 30-second fix.
It's duplicated — two chat bubbles on the same page. You've likely added the script both in theme.liquid and in a Custom Liquid section on the same template. Remove one; never run both simultaneously.
It loaded but conversations aren't saving leads. Confirm your chatbot's lead form is enabled in Hyperleap AI settings — the form collects name, email, and phone before the conversation continues, and that's what populates your leads inbox. If leads aren't appearing, check that the embed script matches the chatbot ID for the agent you're reviewing.
Prepping Your Product Knowledge Base for Shopify Shoppers
The embed gets the widget on your store; your knowledge base determines whether it actually answers shoppers correctly. Since Hyperleap AI doesn't read your live catalog, the accuracy of every answer depends on what you upload.
Start with your highest-volume support questions. Pull your most common contact-form submissions, support emails, and any existing FAQ page. Shipping timelines, return windows, sizing, and "does this work for X" questions dominate most Shopify support queues — start there, not with hypothetical questions.
Upload current shipping and return policy documents. These are the two categories most likely to go stale — a promotional free-shipping threshold that ended last month, a return window that changed — and a confidently wrong policy answer damages trust worse than no chatbot at all.
Add size guides and product care instructions as structured content, not buried inside marketing copy. A chatbot extracts answers more reliably from a clearly labeled size chart than from a paragraph of brand storytelling that mentions sizing in passing.
Set explicit escalation boundaries. Tell the chatbot what it should hand off rather than guess at — order status lookups, account-specific issues, anything requiring the live order or inventory data it doesn't have access to. Hyperleap AI's chatbots are designed to answer only from the documents you provide (document-grounded responses via retrieval-augmented generation, built to minimize hallucinated answers) and route what falls outside that to your team instead of guessing at a live data point.
Keep the lead flowing to your team. Every conversation captures a shopper's name, email, and phone through a lead form before the chat continues, landing in your Hyperleap inbox. If you want those leads flowing into your CRM or email platform automatically, our chatbot-to-CRM integration guide covers the REST API and webhook approach for connecting new leads to whatever system your team already uses.
For a deeper walkthrough of structuring content specifically for chatbot accuracy, see our guide on AI chatbot knowledge base best practices.
Get your Shopify chatbot answering questions today
Start a 7-day free trial, embed the widget in your theme, and train it on your shipping, returns, and product FAQs.
Start Free TrialWhere a Shopify Chatbot Fits Beyond the Storefront
A chatbot embedded on Shopify doesn't have to stay confined to your website. The same knowledge base you upload can also power conversations on WhatsApp, Instagram DM, and Facebook Messenger — channels where a meaningful share of ecommerce shoppers already ask pre-purchase questions before they've even opened your storefront. Instead of managing separate FAQ answers across four surfaces, one knowledge base answers consistently everywhere.
This matters most for stores running social ads: a shopper who DMs a question from an Instagram ad gets the same accurate, on-brand answer as one typing into your storefront widget at midnight — and both conversations land in the same leads inbox for your team to follow up on. If you're evaluating this as a broader ecommerce strategy rather than a single-platform embed, our AI chatbot for ecommerce guide covers the multi-channel case in more depth, and our multi-channel chatbot strategy guide walks through how to keep answers consistent across all four channels from one setup.
What SMB store owners typically report after getting a knowledge-base chatbot live is fewer repeat "what's your return policy" support emails, faster answers to the pre-purchase questions that stall a cart, and a lead captured (rather than lost) when a shopper isn't ready to buy on the first visit — results vary by store, traffic volume, and how complete the knowledge base is.
Implementation Roadmap
Day 1 — Duplicate your theme and get your embed script. Back up first; then grab your embed script from Hyperleap AI's Channels → Website settings.
Day 1 — Paste the script into theme.liquid. Follow the six steps above. Test in an incognito window immediately after saving.
Day 1-2 — Build your knowledge base in parallel. Gather shipping policy, return policy, size guides, and your highest-volume support questions while the technical embed is already live.
Day 2 — Ask it real questions. Test with the exact questions your shoppers actually ask — sizing, shipping timing to specific regions, return windows — not generic prompts.
Day 3 — Run a PageSpeed check. Confirm async is set and the script loads from the footer, not the head.
Week 1 — Review the conversation log. Most platforms, including Hyperleap AI, show you what visitors actually asked. Use it to close knowledge-base gaps you didn't anticipate.
Ongoing — Treat the knowledge base as a living document. Update shipping and return policies the moment they change in Shopify — the chatbot doesn't know a policy update happened until you tell it.
Frequently Asked Questions
Do I need a Shopify app to add a chatbot?
No. You add Hyperleap AI to Shopify by pasting a single script tag into theme.liquid through Online Store → Themes → Edit code — no Shopify App Store installation required, and it works on every Shopify plan including Basic. See the Shopify integration page for the click-by-click version with screenshots.
Can a Shopify chatbot see my product catalog, cart, or order status?
No. Hyperleap AI is a chat-widget embed, not a Shopify e-commerce API integration — it does not connect to your live product catalog, cart contents, inventory counts, or order history. It answers from the knowledge you upload: product descriptions, size guides, shipping policy, and return policy documents. Order-specific and account-specific questions are routed to your support team instead of guessed at.
Does this work with Online Store 2.0 themes like Dawn?
Yes. Online Store 2.0 themes still expose theme.liquid through Edit code exactly as described in this guide — 2.0 added app blocks and sections-everywhere on top of the existing theme architecture, it didn't remove theme.liquid. The embed steps are identical whether you're on a 2.0 theme or an older vintage theme.
Will adding a chatbot slow down my Shopify store?
Not meaningfully, if implemented correctly. The embed script should load with the async attribute from just before </body>, which means it downloads in the background without blocking your page from rendering. Test with Google's PageSpeed Insights before and after installing — if you see a regression, the most common cause is a script placed in <head> without async.
Can I show the chatbot on only some pages instead of my whole store?
Yes. Use a Custom Liquid section added through the theme editor and assign it to specific templates or pages, rather than the global theme.liquid edit. This is useful for testing chatbot impact on one landing page before rolling it out store-wide.
How much does a Shopify chatbot cost?
Hyperleap AI starts at $40/month (Plus: 3,000 AI responses, 1 chatbot, 4 channels), $100/month (Pro: 12,000 responses, 2 chatbots, white-label), and $200/month (Max: 30,000 responses, 5 chatbots). All plans include a 7-day free trial, credit card required — enough time to embed the widget, build your knowledge base, and test real conversations before deciding. Full details on the pricing page, and on what removing the Hyperleap badge looks like in white-label chatbots that match your brand.
My chatbot disappeared after a theme update. What happened?
A Shopify Theme Store update to a new major version can regenerate theme.liquid from the vendor's template, overwriting your embed edit — similar to how a parent-theme update in WordPress can strip a manually added script. Re-open Edit code, confirm whether the script is still present just before </body>, and re-paste it if it's gone.
The Embed Is Five Minutes — the Knowledge Base Is What Sells
Getting a chatbot live on Shopify is a five-minute, no-app, no-developer task once you know where the script goes. What actually determines whether it pays for itself is whether the knowledge base behind it can answer the specific questions stalling your cart — the shipping timeline to a specific region, the exact return window, the sizing question your product photos don't resolve. Get the embed right today; spend the rest of the week getting the content behind it accurate.
Ready to stop losing after-hours Shopify sales?
Embed a knowledge-base chatbot on your Shopify store with a 7-day free trial — live in minutes, trained on your own policies.
Get StartedRelated Articles

How to Add an AI Chatbot to Webflow (Step-by-Step)
Add an AI chatbot to Webflow with one script tag — Custom Code placement, plan requirements, the publish gotcha, and troubleshooting, explained step by step.

Add an AI Chatbot to WordPress (No Plugin Bloat)
How to add an AI chatbot to WordPress with a lightweight script embed — where to paste it, page-builder specifics, and how to avoid plugin bloat.
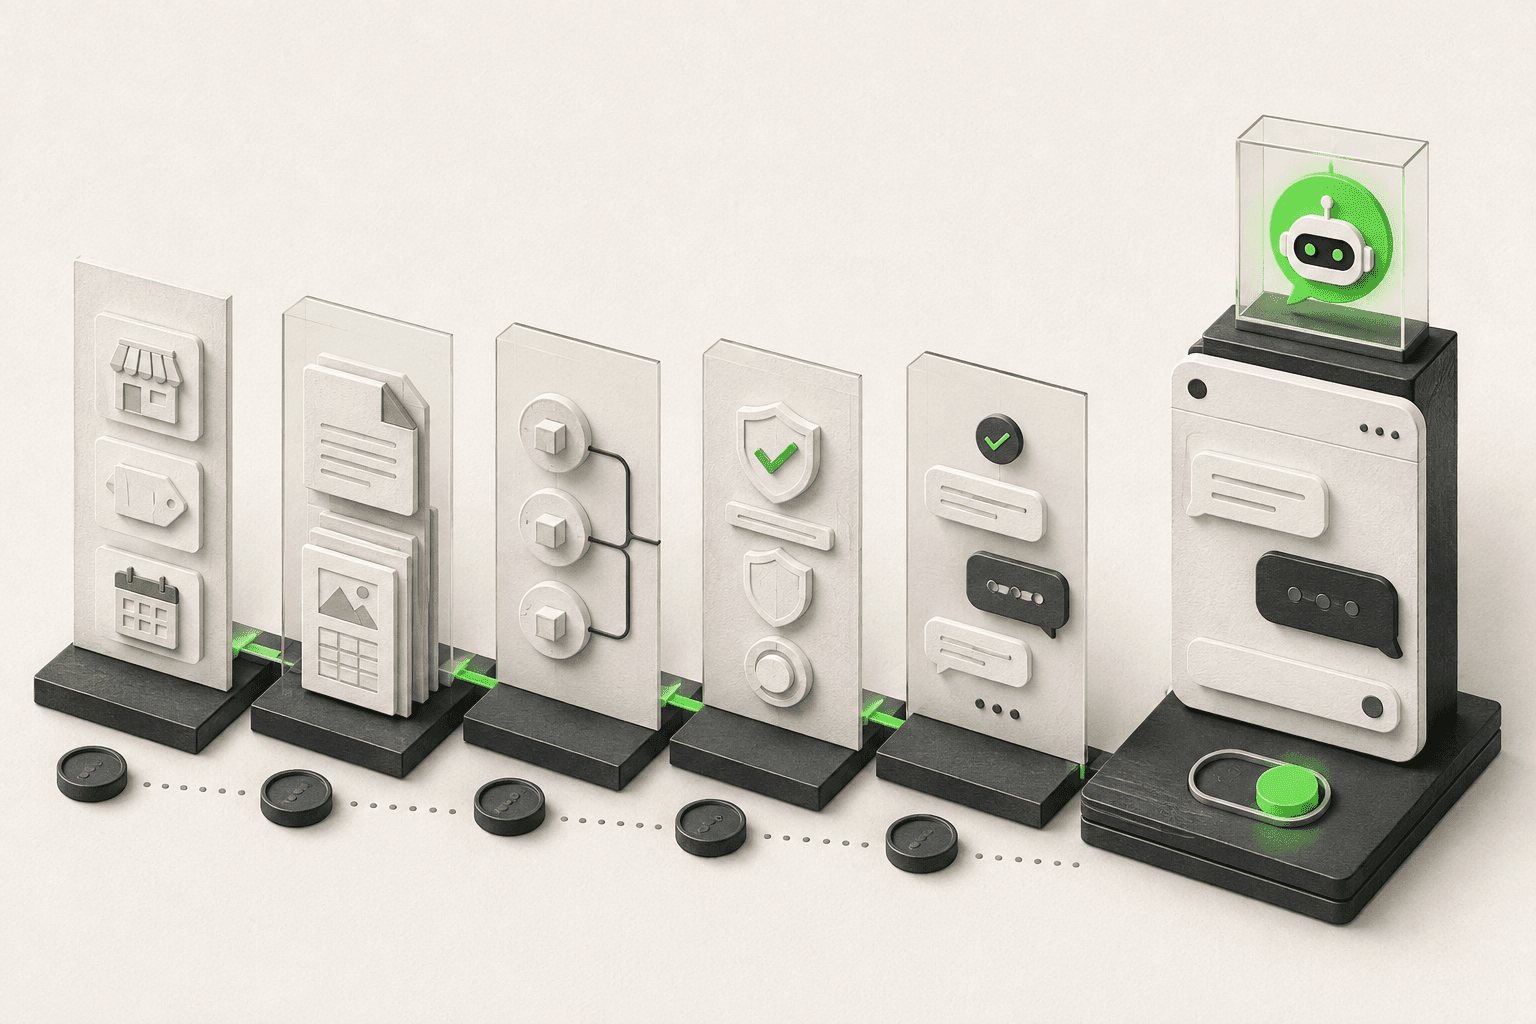
How to Build an AI Chatbot for Your Business
How to build an AI chatbot for your business: decide the jobs it should do, gather knowledge, choose channels, test, and go live in under 5 minutes.
How to Add an AI Chatbot to an HTML Website
Add an AI chatbot to a plain HTML site with one script tag before </body>. Step-by-step setup, testing, styling, and knowledge base tips.