How to Add an AI Chatbot to Your Wix Website (2026)
Step-by-step guide to add an AI chatbot to your Wix website using Custom Code, including the premium-plan rule, mobile behavior, and troubleshooting.
TL;DR: You can add an AI chatbot to a Wix website in about 5 minutes using Wix's Settings → Custom Code panel — paste your chatbot vendor's embed script, set it to load on All Pages in the Body – end position, click Apply, then publish. Site-wide deployment through Custom Code requires a Wix premium plan with a connected domain; free Wix sites can still add the widget to individual pages with the Embed HTML element in the visual editor. Wix's own Ascend live chat needs a human to answer — an AI chatbot answers automatically from your own knowledge base, 24/7. This guide walks through both installation paths, the plan requirement, mobile behavior, a knowledge-base prep checklist, and fixes for the most common setup problems. For the condensed, copy-paste version of the embed code itself, see the Wix chatbot integration page.
The 11pm Question Your Wix Site Can't Answer
A visitor lands on your Wix site at 11:14pm. They have one question — "do you have availability this weekend?" or "does this come in a smaller size?" — and no way to get an answer except a contact form that nobody checks until Monday. So they leave. Maybe they come back. More often, they find the next result on Google and book, buy, or ask there instead.
This is the quiet cost of running a website with no live answer mechanism: not a design problem, not a traffic problem, a response-time problem. Leads contacted within five minutes convert dramatically better than leads contacted hours later, according to InsideSales' Lead Response Management research — and a contact form that sits unread overnight is the opposite of a five-minute response. An AI chatbot closes that gap by answering the question the moment it's asked, using your own content, without anyone on your team lifting a finger.
This guide is the step-by-step version: exactly where to click in your Wix dashboard, which plan requirements actually matter, how the widget behaves on mobile, what to prepare before you paste the code, and how to fix it when something doesn't load. If you just want the copy-paste embed snippet and a fast overview, the Wix chatbot integration page has that in one screen. This post is the deeper walkthrough for people who want to understand every step before they touch the dashboard.
What Is a Wix AI Chatbot?
A Wix AI chatbot is a chat widget — usually a small bubble in the corner of the screen — that answers visitor questions automatically using content you've uploaded, rather than routing them to a human. It is not a Wix-built feature; it's a third-party script you add to your site through Wix's Custom Code or Embed HTML tools.
Functionally, it has two layers:
- The widget itself: a floating chat interface that loads on your Wix pages via a small JavaScript snippet.
- The AI behind it: a language model that has been given your business's knowledge base — FAQs, service pages, pricing sheets, policies — and answers questions from that content instead of guessing.
This distinguishes it from two things people sometimes confuse it with:
- Wix's built-in live chat (Ascend), which routes messages to a human operator. If nobody is online, the visitor waits.
- A generic AI chatbot with no training, which might answer fluently but has no idea what your business actually offers, so it either says nothing useful or — worse — makes something up.
A properly configured Wix AI chatbot avoids both failure modes: it's always "on" like Ascend claims to be, but it actually answers instead of waiting for a human, and its answers are grounded in your own documents rather than invented.
Widget embed, not a platform integration
Adding a chatbot to Wix is a widget embed, not a deep integration with your Wix store or CMS. It does not read your product catalog automatically, does not sync with Wix Bookings, and does not process payments. It adds a chat interface that answers from whatever knowledge base you upload separately. Keep that distinction in mind when you're deciding what the chatbot can realistically handle on day one.
Why Wix Sites Lose Leads Without a Chatbot
Most Wix sites run on two response mechanisms: a contact form and, if they've upgraded, Wix Ascend live chat. Both share the same weakness — they depend on a human being available at the exact moment a visitor has a question.
The Contact Form Delay
A contact form submitted at 9pm typically gets a reply the next business morning. HubSpot research finds that 82% of customers expect an immediate response to a sales inquiry, and 90% rate "immediate" as important when they have a question at all. A next-morning reply doesn't meet that bar — and by the time it lands, the visitor has often already found an answer somewhere else.
The After-Hours Traffic Nobody Staffs
Small business owners running a Wix site are rarely staffing a support desk around the clock. Industry patterns suggest a meaningful share of website inquiries — questions about pricing, availability, hours, and services — arrive outside standard business hours, when the person who could answer them is asleep. In Hyperleap's own Jungle Lodges deployment, 35% of all chatbot inquiries arrived after business hours, captured automatically with no staff involved.
The Repetitive-Question Tax
Even during business hours, a large share of inbound questions are the same handful repeated: "What are your hours?" "Do you offer X?" "How much does it cost?" Answering these manually, one visitor at a time, is time the owner or a team member isn't spending on the work that actually grows the business.
The Response-Speed Gap With Competitors
Wix makes it easy to launch a professional-looking site quickly — which means your competitors are launching just as fast, and increasingly, they're the ones answering instantly with an AI chatbot while your site still routes everything through a form. Companies with faster response times generate significantly more qualified leads, per InsideSales research on lead response management. The site that answers first tends to win the inquiry.
An AI chatbot addresses all four of these at once: it answers instantly regardless of the hour, captures contact details from every conversation, and handles the repetitive questions so your team only gets involved for the ones that actually need a human.
How to Add an AI Chatbot to Wix (Step-by-Step)
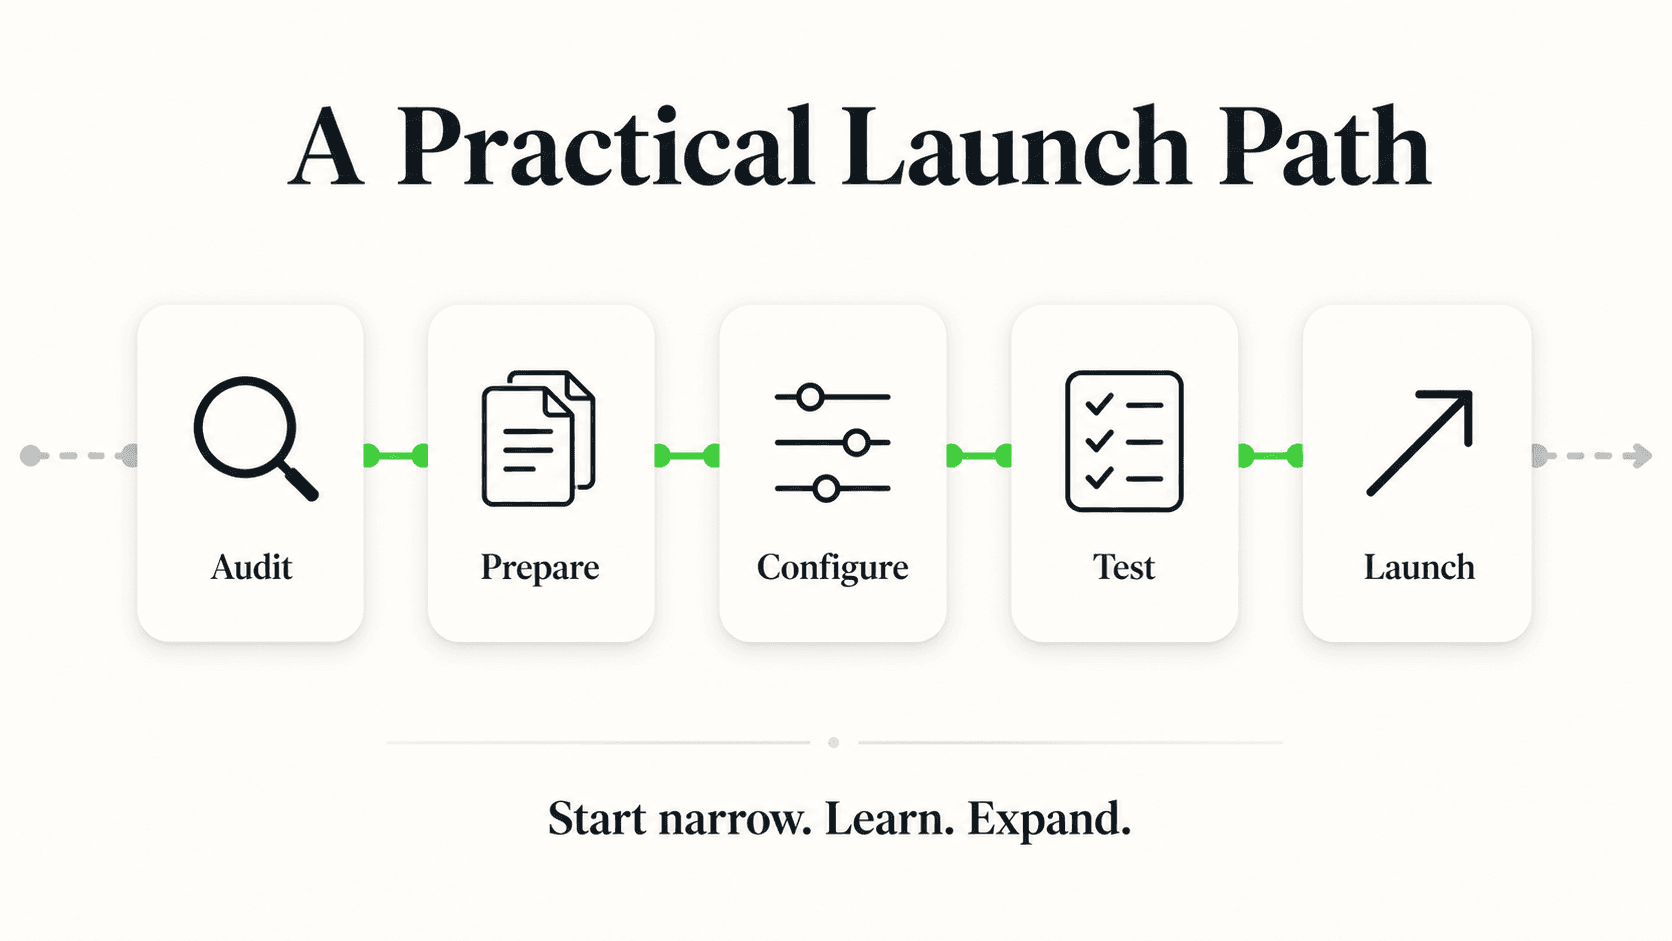
There are two supported paths, depending on your Wix plan. Both start the same way: getting an embed script from your chatbot provider.
Before You Start: Get Your Embed Script
Sign up with an AI chatbot platform (Hyperleap AI's chatbot for small business product works well for this, and its no-code chatbot builder means you don't need a developer to configure it, but the mechanics below apply to any vendor that gives you a JavaScript embed snippet). After you upload a knowledge base and configure your chatbot, the platform's dashboard gives you an embed code — a short <script> block. It typically looks like this:
<script>
  (function () {
    window.userChatbotConfig = {
      chatbotId: "YOUR_CHATBOT_ID",
      privateKey: "YOUR_PRIVATE_KEY",
    };
    var chatbotScript = document.createElement("script");
    chatbotScript.src = "https://chatjs.hyperleap.ai/chatbot.min.js";
    chatbotScript.async = true;
    document.head.appendChild(chatbotScript);
  })();
</script>
Copy this whole block. You'll paste it into Wix in the next step.
Method 1: Custom Code (Site-Wide, Premium Plan Required)
This is the recommended method if you want the chatbot on every page of your site with one setup step.
- Log in to your Wix dashboard and select the site you want to edit.
- Go to Settings → Advanced → Custom Code. This section lists any custom scripts already added to your site.
- Click "+ Add Custom Code" in the top right of the page.
- Paste your embed script into the code box. Name it something identifiable, like "AI Chatbot Widget," so you can find it again later.
- Set "Add Code to Pages" to "All pages" and "Place Code in" to "Body – end." This loads the script right before the closing
</body>tag on every page — the standard placement for chat widgets, since it means the widget loads after your main page content rather than blocking it. - Click Apply, then go to your site editor and click Publish. The chatbot goes live across your entire site as soon as publishing finishes.
That's the whole process — five steps in the dashboard, no code editing required beyond pasting a script you were given. The full copy-paste version of this walkthrough, including annotated screenshots, is on the Wix chatbot integration page, if you want a second reference while you're in the dashboard.
Method 2: Embed HTML (Works on Free Wix Plans)
If you're on a free Wix plan, Custom Code isn't available — but you can still add the chatbot to individual pages using the Embed HTML element in the Wix Editor.
- Open your site in the Wix Editor (not the dashboard — the visual page editor).
- Click the "+" (Add) button in the left sidebar.
- Navigate to "Embed Code" → "Embed HTML."
- A gray placeholder box appears on the page — drag it to any position (it won't be visible once the widget loads, so position doesn't affect appearance).
- Click "Enter Code" on the placeholder, and choose "Code" mode in the popup.
- Paste your embed script.
- Click Update, then publish your site.
The catch with this method: the chatbot only appears on pages where you've manually added the Embed HTML element. If you want it on your homepage, a services page, and a contact page, you repeat this process three times. There's no "apply to all pages" option on the free tier — that capability is specifically what Custom Code (Method 1) unlocks.
Method 3: Velo (Developer Option)
If you're comfortable with Wix's Velo development platform, you can inject the widget programmatically instead of through either dashboard method:
- In the Wix Editor, click "Dev Mode" in the top menu, then "Turn on Dev Mode."
- Open Page Code or Site Code in the left panel.
- For a site-wide install, open
masterPage.js. - Add the chatbot initialization inside the
$w.onReady()function. - Save and publish.
This is functionally equivalent to Method 1 but gives developers more control over exactly when the script initializes relative to other page code — useful if you're already managing several custom scripts through Velo and want them centralized in one file.
If you manage sites on multiple platforms — a Wix site plus a Shopify store, say, or a WordPress blog — the underlying embed mechanism is the same script-tag pattern everywhere; the website chatbot embed guide covers the per-platform steps for Shopify, WordPress, Webflow, and Squarespace alongside Wix.
The Wix Premium Plan Requirement, Explained
This trips people up more than anything else in the setup process, so it's worth stating plainly: Custom Code — the site-wide method — requires a Wix premium plan with a connected domain. This is a Wix platform restriction, not something specific to any chatbot vendor. Wix gates the Custom Code panel behind its paid tiers as part of the broader set of capabilities (custom domains, app market access, e-commerce features) that come with upgrading.
If you're on a free Wix plan, you have two options:
- Use Method 2 (Embed HTML) and accept that you'll add the chatbot page by page.
- Upgrade to a Wix premium plan. For most businesses running a real site — one that's meant to generate leads or sales — the upgrade pays for itself in the custom domain and ad-free hosting alone, and it happens to also unlock site-wide Custom Code.
There's no way around this from the chatbot side: no embed method bypasses Wix's own plan restrictions, because the restriction lives in Wix's platform, not in the widget you're adding.
Wix Native Chat vs. an AI Chatbot: What's the Difference
Wix Ascend, Wix's built-in business suite, includes a live chat feature. It's worth being precise about what it does and doesn't do, because "Wix already has a chat widget" is a common — and only partly correct — assumption.
| Wix Ascend Live Chat | AI Chatbot (third-party embed) | |
|---|---|---|
| Who answers | A human operator, when online | Automated, from your knowledge base |
| Availability | Only while someone is logged in and watching | 24/7, including nights and weekends |
| Setup | Built into Wix, no code needed | Requires an embed script via Custom Code or HTML Embed |
| Knowledge source | Whatever the operator knows in the moment | Documents, FAQs, and pages you upload in advance |
| Lead capture | Manual, if the operator asks | Structured — name, email, phone collected in-conversation |
| Multichannel | Wix website only | Can extend to WhatsApp, Instagram DM, Facebook Messenger, depending on vendor |
| Cost | Included in Wix premium plans | Separate subscription, typically $30–$100+/month |
Neither is strictly "better" — they solve different problems. Ascend live chat is a good fit if you already have someone monitoring chat during business hours and want a simple, no-cost way to talk to visitors in real time. An AI chatbot is the better fit when the gap you're trying to close is coverage: nights, weekends, and the repetitive questions that don't need a human's judgment. Many Wix sites end up running both — Ascend for staffed hours, an AI chatbot to cover everything else — though that requires coordinating so the two don't compete for the same chat bubble position.
Page Targeting and Mobile Behavior on Wix
Once the widget is live, two practical questions come up almost immediately: which pages show it, and how it behaves on phones.
Page targeting. With Method 1 (Custom Code), "All pages" is the default and the right choice for most sites — you want the chatbot everywhere a visitor might have a question. But Wix's Custom Code panel also supports adding a script to specific pages only, which is useful if you want the chatbot on your services and contact pages but not, say, a legal disclaimer page. With Method 2 (Embed HTML), targeting is inherently per-page since you're placing the element manually — there's no bulk "apply everywhere" toggle on that path.
Mobile behavior. A well-built chat widget loads responsively without extra configuration: on desktop it typically renders as a bubble in a bottom corner, and on mobile it either shrinks to a smaller tap target or expands to a near-full-screen overlay when opened, so it doesn't cover the entire viewport while collapsed. Test this yourself after publishing — open your live Wix site on an actual phone (not just the browser's device-emulation view) and confirm the widget doesn't overlap Wix's own mobile navigation elements, like a sticky "Book Now" button some templates add automatically. If it does overlap, most chatbot dashboards let you adjust the widget's screen position (bottom-left instead of bottom-right, or an offset) without touching the embed code.
Load timing. Because the script loads asynchronously (note the async attribute in the snippet above), it doesn't block your page's main content from rendering — Wix's Core Web Vitals and load-speed scores are unaffected by adding the widget. The chatbot bubble typically appears a beat after the rest of the page, which is expected behavior, not a bug.
Test on a real device before you call it done
Wix's preview mode is a reasonable first check, but it doesn't perfectly replicate mobile Safari or Chrome rendering. After publishing, open your actual live URL on your own phone and tap through a full conversation — send a message, see the response, close the widget — before you consider the setup finished.
Prepping Your Knowledge Base Before You Embed
The embed code takes five minutes. The part that actually determines whether your chatbot is useful — what it knows — deserves more attention before you go live. A chatbot with no knowledge base either refuses to answer specific questions or, worse, guesses. Here's a practical checklist to work through first:
- Gather your FAQ content. Pull together every question you or your team answers repeatedly by phone, email, or DM — hours, pricing, service areas, policies, availability.
- Write out your pricing structure clearly. Even if pricing is "starting at" or "varies by project," give the chatbot enough structure to explain the range and what drives it, rather than a blank spot.
- Document your booking or contact process. If you use Calendly or Cal.com, connect it and the chatbot checks live availability and books the slot in the conversation (in-chat booking needs Calendly Standard or higher). With any other scheduling tool, it shares your booking link.
- List what the chatbot should NOT try to answer. Legal advice, medical guidance, anything requiring human judgment — decide upfront what gets escalated rather than guessed at.
- Include your service area and hours, even if they're on your Wix site already — chatbots answer faster from a direct knowledge-base entry than by having to "read" a separate page.
- Draft a welcome message that sets expectations: what the chatbot can help with, and how to reach a human if needed.
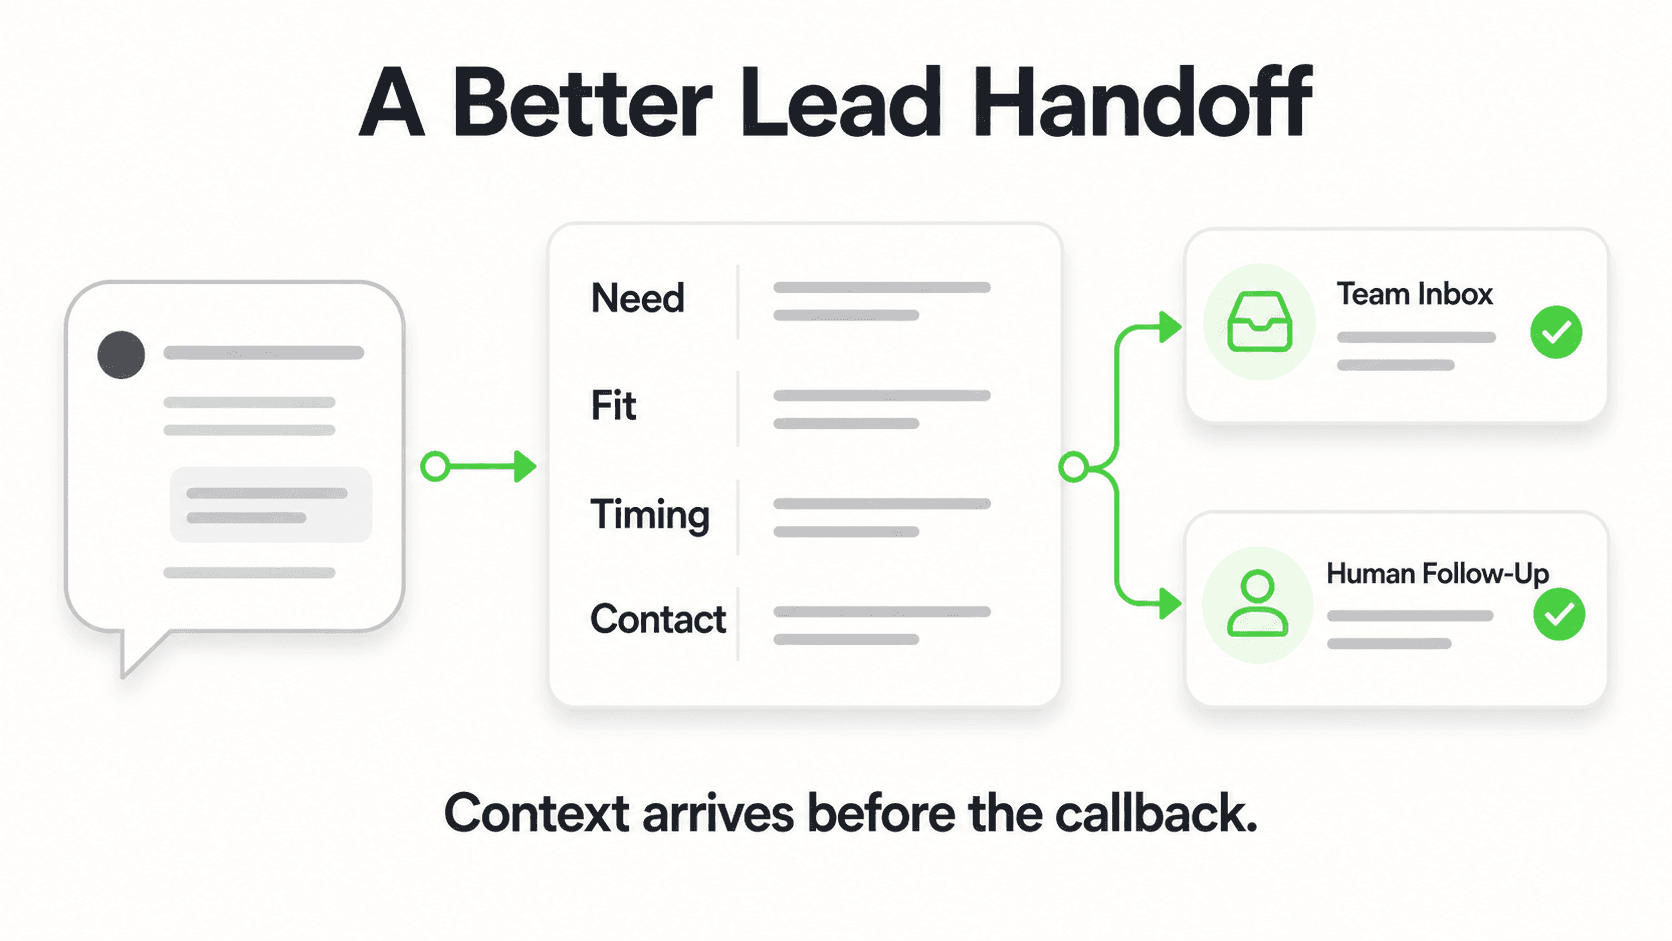
- Plan your escalation path. Decide who gets notified when a lead comes in — most platforms support real-time notifications or webhook alerts so a captured lead doesn't sit unread in a dashboard.
Businesses that skip this step and just paste the embed code with an empty or thin knowledge base tend to get a chatbot that gives vague, unhelpful answers — which erodes trust in the first conversation rather than building it. The setup time is worth spending here, not on the embed itself.
Ready to give your Wix site an AI chatbot?
Train it on your FAQs and service details, then embed it on your Wix site in about 5 minutes — plus WhatsApp, Instagram DM, and Facebook Messenger from the same dashboard.
Start Free TrialTroubleshooting Common Wix Chatbot Issues
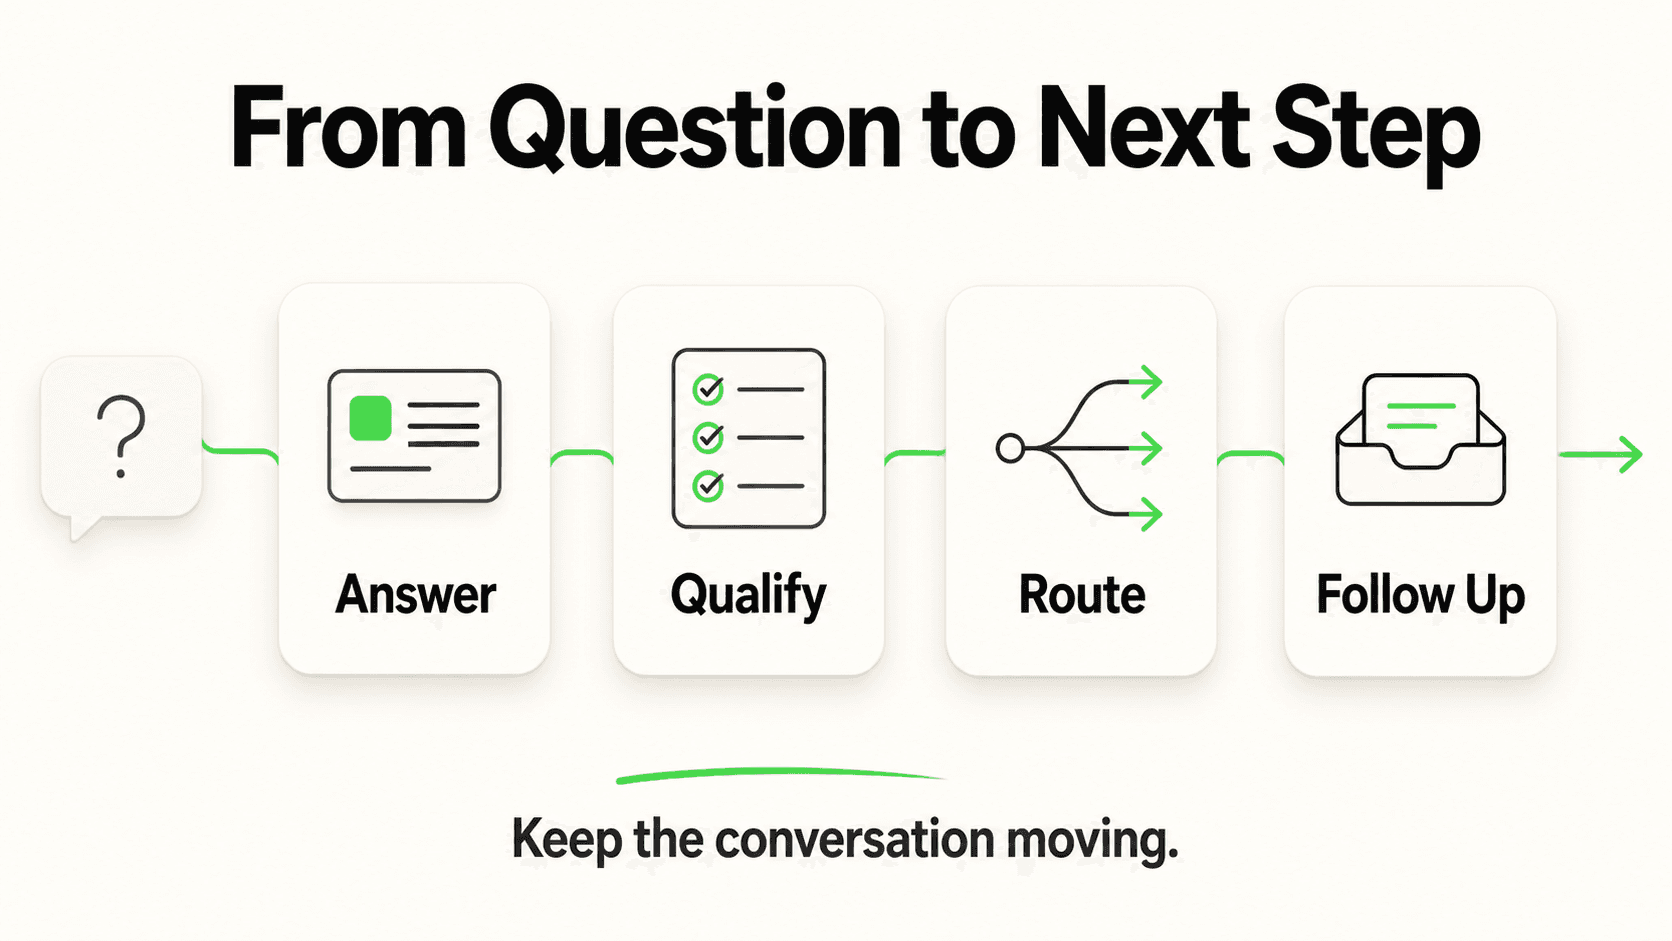
If the widget doesn't appear after you've published, work through these in order — they cover the vast majority of setup problems.
The chatbot doesn't show up at all
- Check you actually published, not just clicked "Apply" in Custom Code. Wix requires a separate publish step for Custom Code changes to go live on your public site.
- Confirm your plan supports Custom Code. Free Wix plans can't use Method 1 at all — the code will silently not run. Switch to Method 2 (Embed HTML) or upgrade.
- Verify the code placement is set to "Body – end," not "Head" — some widget scripts behave differently depending on where in the DOM they load, and "Body – end" is the standard, tested placement.
- Hard-refresh the live page (not the editor preview) — Wix and browsers both cache aggressively, and a stale cache is a common false alarm.
The chatbot shows up but won't send messages
- Double-check your
chatbotIdandprivateKeyin the script match exactly what your dashboard issued — a single mistyped character breaks the connection silently. - Check your browser console (right-click → Inspect → Console) for a script-loading error, which usually points directly at the problem.
The chatbot appears on some pages but not others
- This is expected behavior with Method 2 (Embed HTML) — you have to add the element to every page individually. If you want it everywhere, switch to Method 1.
- If you're using Method 1 and pages are still missing it, check whether "Add Code to Pages" was set to a specific page instead of "All pages."
The widget overlaps other elements or looks broken on mobile
- Adjust the widget's screen position in your chatbot dashboard settings (most platforms offer bottom-left/bottom-right and offset controls).
- Check whether your Wix template has a sticky mobile CTA bar competing for the same screen position, and reposition one of the two.
The chatbot gives wrong or vague answers
- This is a knowledge-base problem, not an embed problem — revisit the prep checklist above and add more specific content on whatever topic the chatbot struggled with.
If none of these resolve it, most chatbot vendors' support teams can check the embed from their side within minutes — the embed script itself rarely needs debugging once it's confirmed to be present and firing.
Getting Started: A Practical Rollout Plan
For a Wix site owner starting from zero, here's a reasonable sequence rather than trying to do everything in one sitting:
Day 1: Prep the knowledge base. Work through the checklist above — FAQs, pricing, booking process, escalation rules. This is the highest-leverage hour you'll spend on the whole project.
Day 1–2: Install the widget. Follow Method 1 if you're on a Wix premium plan, or Method 2 if you're not. Test on desktop and mobile before considering it live.
Week 1: Watch real conversations. Most chatbot dashboards show a transcript log. Read the first few dozen conversations to spot gaps in the knowledge base — questions the chatbot couldn't answer well.
Week 1–2: Refine and expand. Add the content that's missing, based on what real visitors actually asked. This is more effective than trying to guess every possible question upfront.
Week 2+: Extend to other channels. If your business also gets inquiries on WhatsApp, Instagram, or Facebook, the same chatbot and knowledge base can typically deploy there too — one setup, multiple channels.
This staged approach beats trying to launch a "perfect" chatbot on day one — real conversations reveal gaps faster than any amount of upfront guessing, and a chatbot that improves visibly in its first two weeks builds more trust with your team than one that launches once and is never touched again. It applies whether your Wix site is a local service business — home services, salons, real estate — or an online store; the no-code setup guide walks through the same rollout logic in more general terms if you want a second framework alongside this one.
Frequently Asked Questions
How do I add an AI chatbot to my Wix website?
Go to your Wix Dashboard, then Settings → Advanced → Custom Code, and click "+ Add Custom Code." Paste your chatbot vendor's embed script, set "Add Code to Pages" to All pages and "Place Code in" to Body – end, click Apply, then publish your site. The chatbot appears site-wide within seconds of publishing. This method requires a Wix premium plan with a connected domain; free plans can use the Embed HTML element instead, added to individual pages.
Do I need a paid Wix plan to add a chatbot?
Site-wide deployment via Custom Code requires a Wix premium plan with a connected domain — that's a Wix platform restriction, not specific to any chatbot vendor. On a free Wix plan, you can still add the chatbot to individual pages using the Embed HTML element (Add → Embed Code → Embed HTML) in the Wix Editor, though you'll need to repeat that step on each page.
Is Wix's built-in chat the same as an AI chatbot?
No. Wix Ascend's live chat routes messages to a human operator — if nobody is logged in and watching, visitors get no response. An AI chatbot answers automatically from a knowledge base you upload in advance, 24/7, without a person needing to be online. Many sites use both: Ascend for staffed hours, an AI chatbot to cover nights, weekends, and repetitive questions.
Will adding a chatbot slow down my Wix site?
No, provided the embed script loads asynchronously (indicated by the async attribute), which is standard for chat widgets. This means the widget loads independently after your main page content, so it doesn't block rendering or affect your Wix site's Core Web Vitals or load-speed scores.
Can a Wix chatbot work on mobile devices?
Yes. A properly built chat widget renders responsively without extra configuration — typically a compact bubble on desktop and an adaptive layout on mobile that doesn't take over the full screen while collapsed. Always test on an actual phone using your live published URL, since Wix's editor preview doesn't perfectly replicate real mobile browser rendering.
Can the chatbot connect to my Wix store's product catalog?
Not automatically. The embed adds a chat widget — it does not sync with your Wix e-commerce catalog, cart, or order history out of the box. To answer product questions, you'd typically upload product details as part of the chatbot's knowledge base manually, or explore additional integration work with your chatbot vendor if catalog-level sync matters to your use case.
What should I do before I add the chatbot, not just during setup?
Prepare a knowledge base first: your FAQs, pricing structure, booking process, service area, and a clear list of what the chatbot should escalate to a human rather than answer itself. A chatbot embedded with a thin or empty knowledge base tends to give vague answers, which does more harm to visitor trust than having no chatbot at all.
How much does an AI chatbot for Wix cost?
Costs vary by vendor. Hyperleap AI, for example, offers a 7-day free trial (credit card required) with paid plans starting at $40/month for the Plus plan (3,000 AI responses, 1 chatbot), scaling to $100/month (Pro) and $200/month (Max) for higher response volumes, more chatbots, and white-label branding — see the full pricing breakdown for what each tier includes. The Wix embed itself carries no separate fee beyond your chosen plan.
The Bottom Line
Adding an AI chatbot to a Wix site is a five-minute technical task wrapped around a more important preparation step: giving the chatbot enough of your business's real content to actually be useful. Get the knowledge base right, choose Custom Code if your plan allows it (or Embed HTML if it doesn't), test on a real phone, and you've closed the gap between "someone asked a question on my Wix site" and "someone got an answer" — regardless of what time it is or whether anyone's at a desk.
For the fastest path to the embed code itself, along with a full FAQ and feature comparison against Wix Ascend, see the dedicated Wix chatbot integration page. If you're evaluating chatbot platforms more broadly before committing to one, how to choose an AI chatbot platform walks through the criteria that matter beyond just "does it embed on Wix."
Add an AI chatbot to your Wix site today
Upload your knowledge base, grab the embed code, and go live on Wix in about 5 minutes — with a 7-day free trial to test it on real traffic.
Get Started FreeRelated Articles

How to Add an AI Chatbot to Shopify (Step by Step)
How to add an AI chatbot to Shopify with a theme.liquid embed — setup steps, Online Store 2.0 notes, and what a Shopify chatbot can and can't access.

How to Add an AI Chatbot to Webflow (Step-by-Step)
Add an AI chatbot to Webflow with one script tag — Custom Code placement, plan requirements, the publish gotcha, and troubleshooting, explained step by step.

Add an AI Chatbot to WordPress (No Plugin Bloat)
How to add an AI chatbot to WordPress with a lightweight script embed — where to paste it, page-builder specifics, and how to avoid plugin bloat.
How to Build an AI Chatbot for Your Business
How to build an AI chatbot for your business: decide the jobs it should do, gather knowledge, choose channels, test, and go live in under 5 minutes.